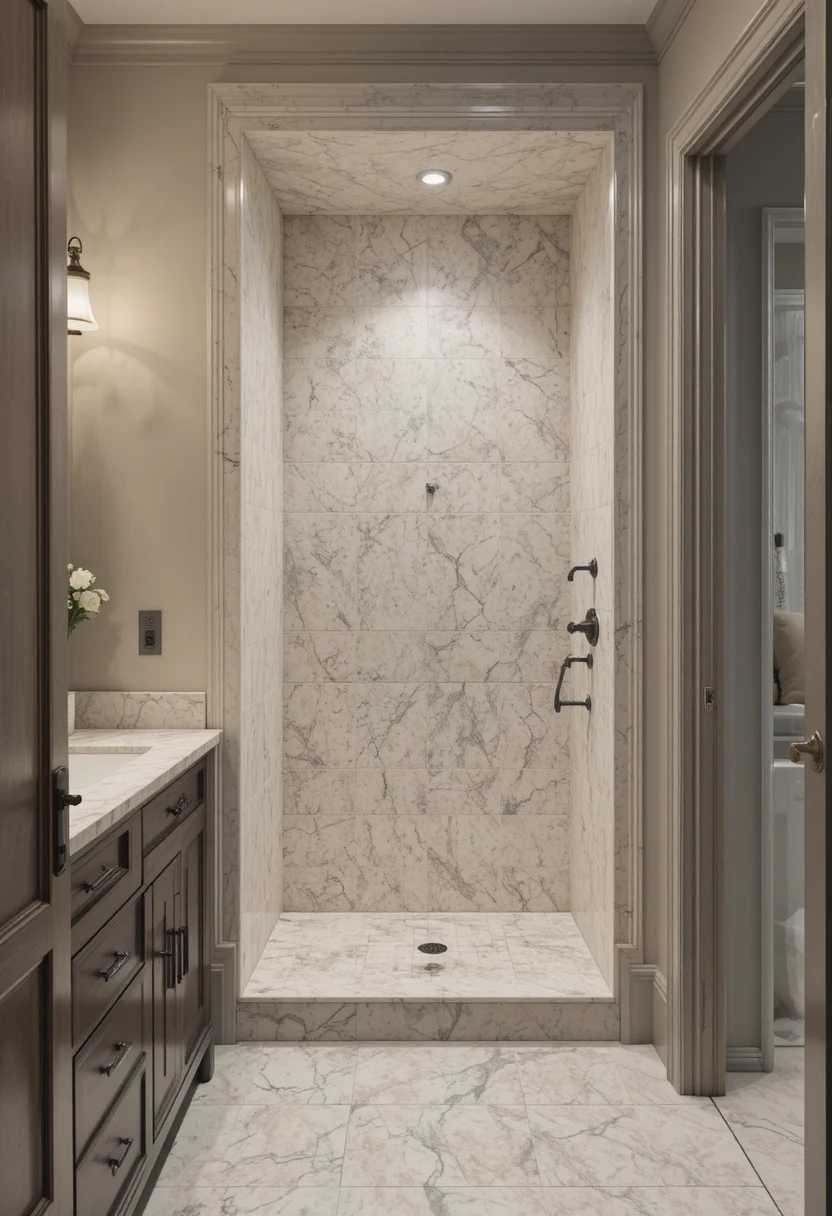
25 Shower Niche Ideas for Stylish, Practical Storage
A shower niche is one of those small features that makes a big difference, giving your bottles and soaps a tidy home built right into the wall. Beyond being practical, a well designed niche can become a beautiful little feature in its own right. In my own home, adding a niche cleared the shower ledge and made the whole space feel calmer. With the right size, tile, and lighting, it becomes both hardworking and stylish. Below are twenty five shower niche ideas, shared with warmth and a few lessons from my own home, along with simple steps to help you bring each one to life.
1. Match the Niche to Your Tile
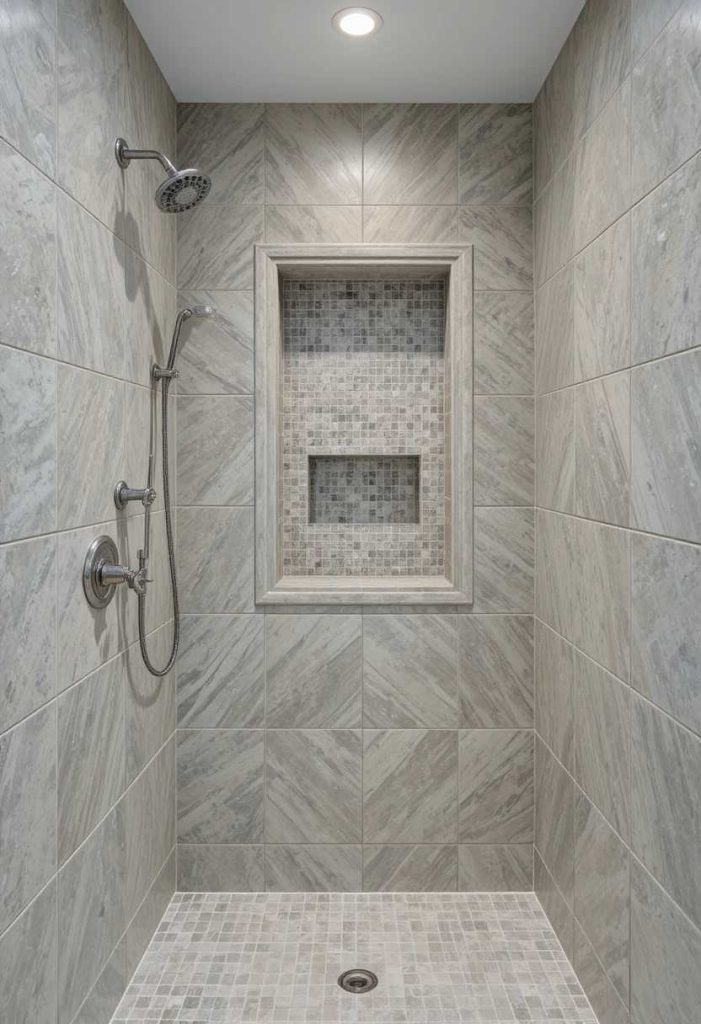
Tiling the niche in the same tile keeps it seamless and calm. It blends right into the wall. In my home, this made the shower feel serene. It is the loveliest place to begin.
How to do it:
Tile the niche interior to match the shower walls. Wrap the tile neatly around the edges. Keep the grout consistent. Slope the base slightly for drainage. Let it blend seamlessly into the wall.
2. Add a Contrasting Tile Inside
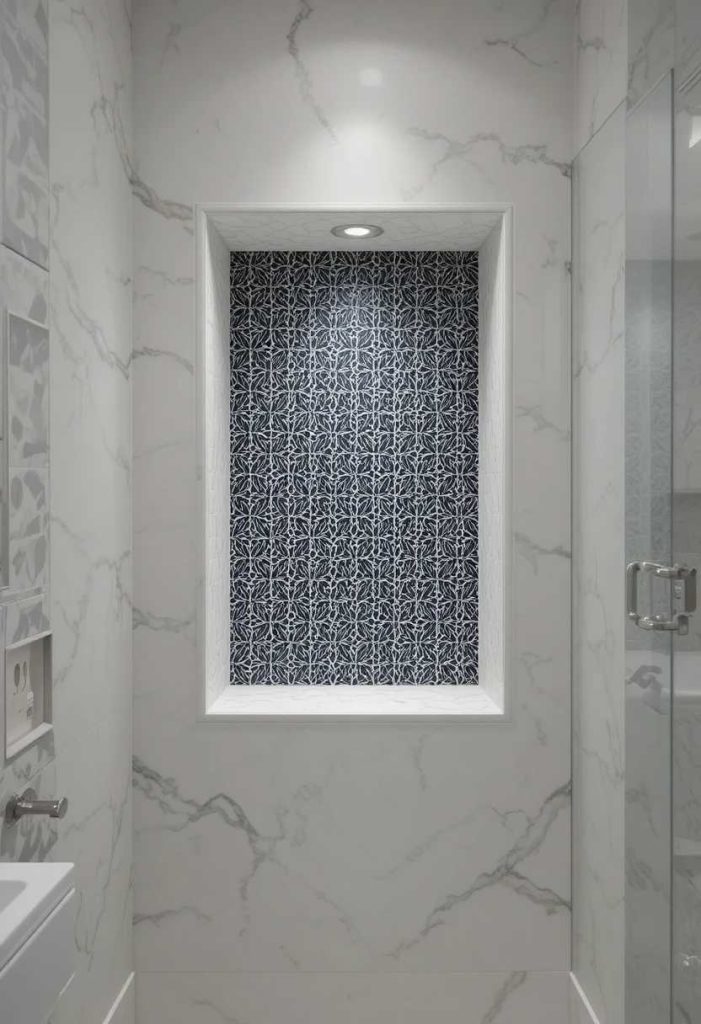
A different tile inside makes the niche a feature. The contrast draws the eye. Mine adds a lovely pop of pattern. It is a striking way to add character.
How to do it:
Tile the niche interior in a contrasting or patterned tile. Choose a colour or texture that complements the walls. Keep the surround simple. Frame the niche edges neatly. Let it become a small feature.
3. Size It for Your Bottles
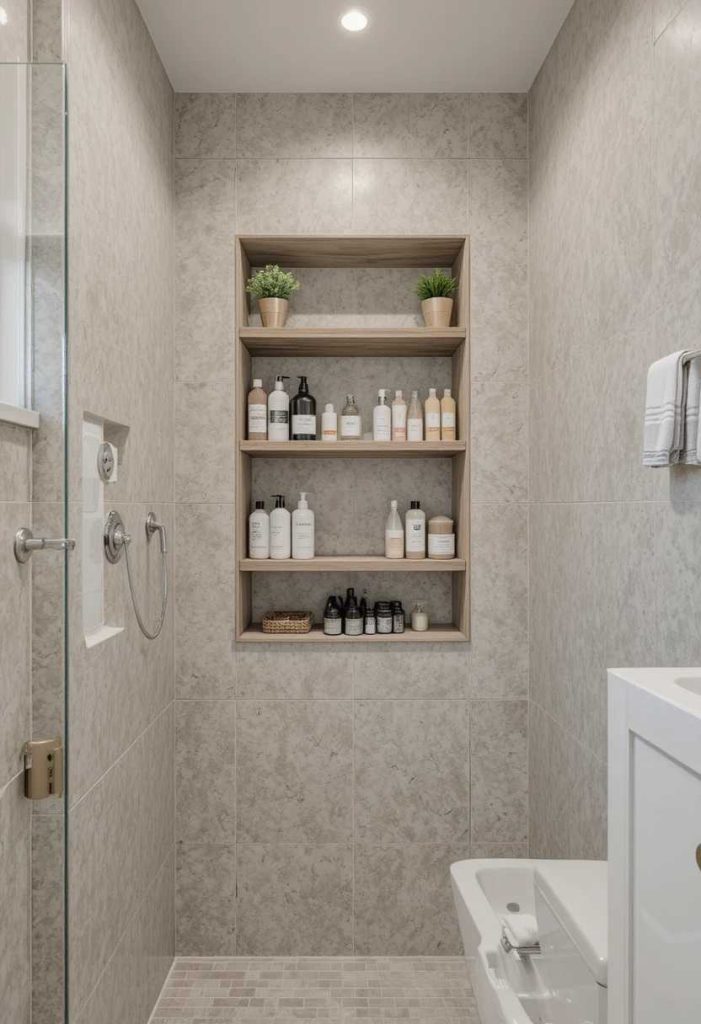
A niche sized for your products keeps everything tidy. It fits bottles without crowding. Mine holds exactly what we use. It is a practical, thoughtful touch.
How to do it:
Measure your tallest bottles before building. Size the niche to fit them comfortably. Add a little extra room for ease. Keep the depth practical. Position it at a reachable height.
4. Add a Shelf Divider
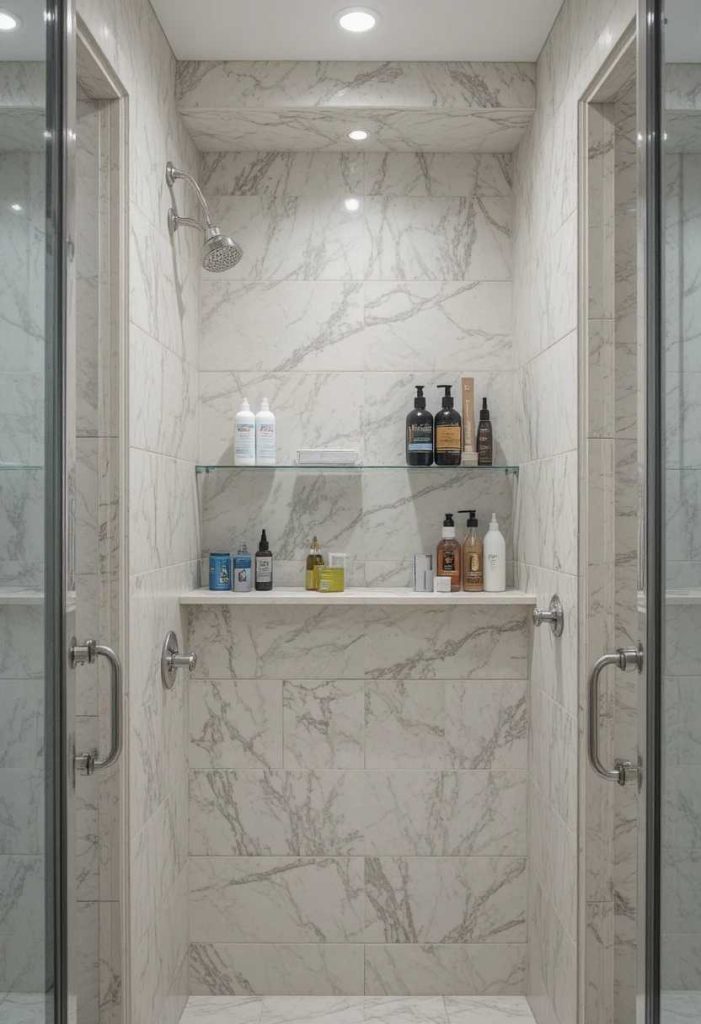
A shelf splits the niche into two handy levels. It doubles the storage. Mine keeps his and hers separate. It is a smart way to add function.
How to do it:
Add a tiled or glass shelf across the niche. It creates two usable levels. Slope shelves slightly for drainage. Keep the divider sturdy. Use the levels to sort products.
5. Add Niche Lighting
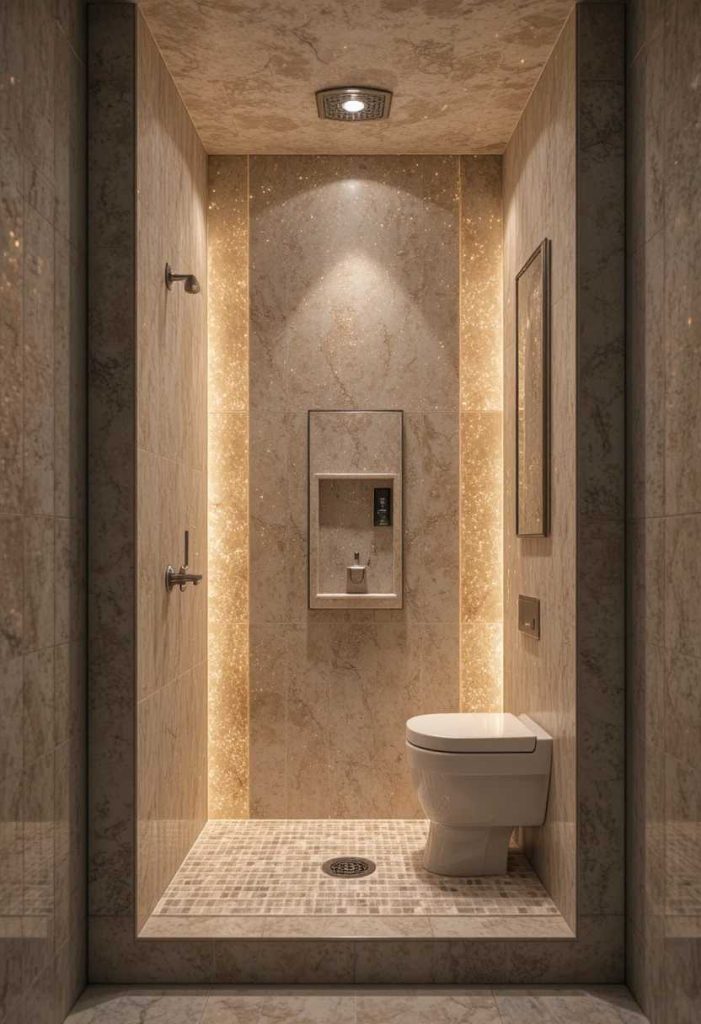
A small light inside makes the niche glow beautifully. It feels luxurious and spa like. Mine highlights the tile softly. It is a lovely way to add ambiance.
How to do it:
Add a small waterproof LED light inside the niche. Choose a warm glow. Wire it safely with a rated fixture. Position it to wash over the tile. Enjoy the soft, spa like glow.
6. Add a Marble Niche
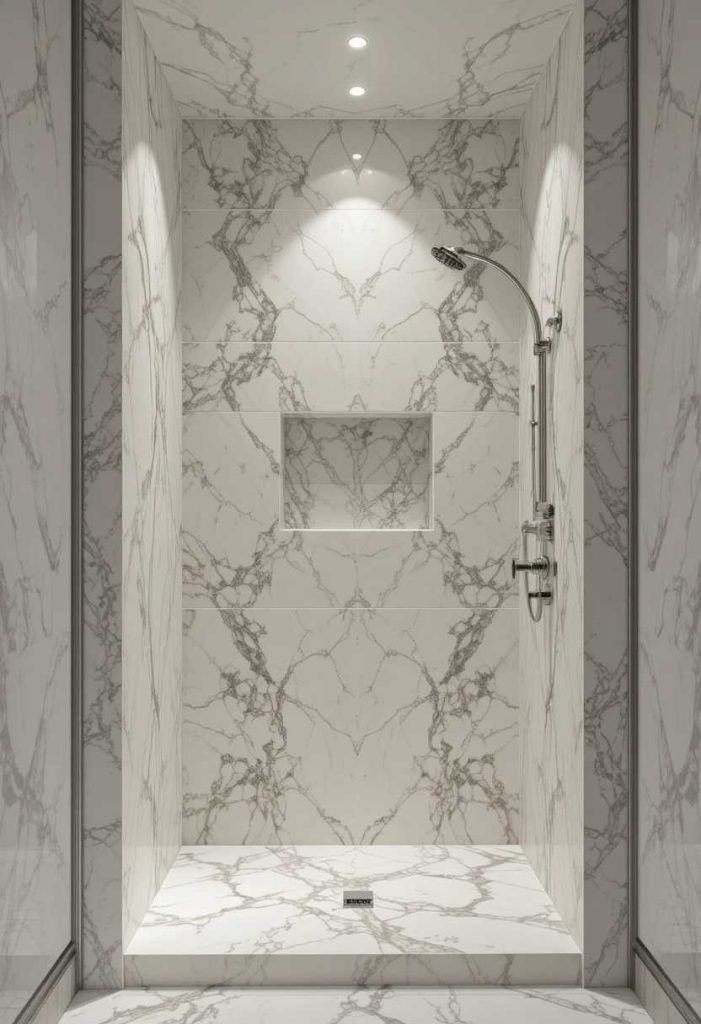
A marble lined niche feels elegant and luxe. The veining adds beauty. Mine elevates the whole shower. It is a stunning way to add refinement.
How to do it:
Line the niche with marble or marble-look tile. Choose soft veining for elegance. Seal natural marble well. Keep the surround complementary. Let the niche feel luxe.
7. Add a Long Horizontal Niche
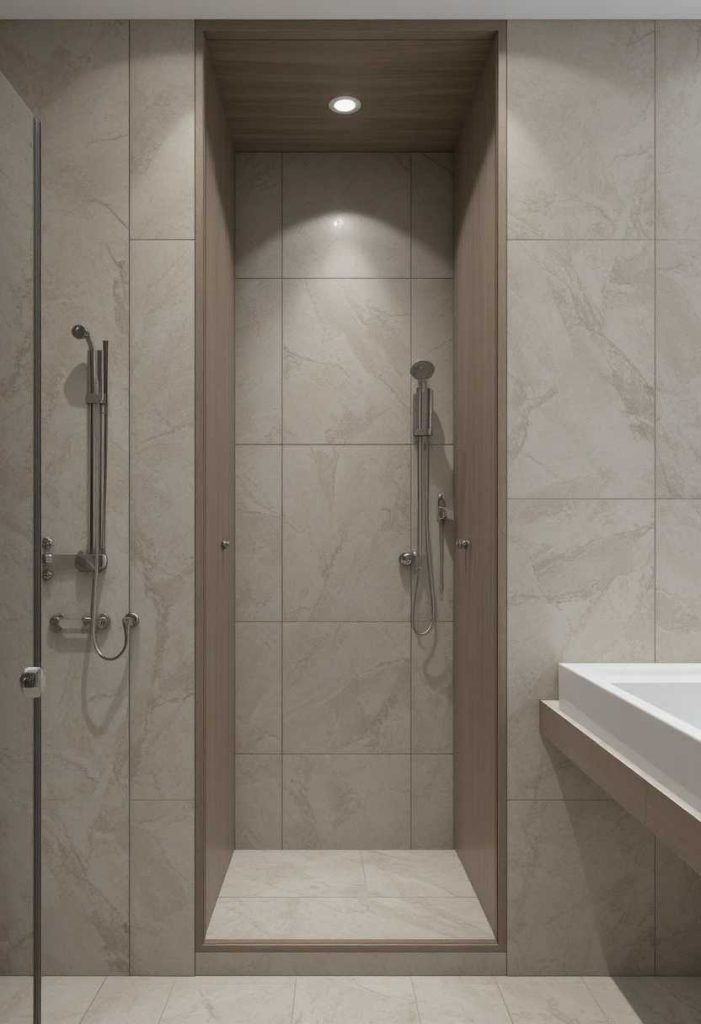
A long, slim niche runs across the wall for a sleek look. It holds plenty in a modern line. Mine feels streamlined and roomy. It is a lovely way to add style.
How to do it:
Build a long horizontal niche across the shower wall. Keep it slim and streamlined. Tile it neatly inside. Position it at a comfortable height. Let it add sleek, roomy storage.
8. Add Metallic Trim
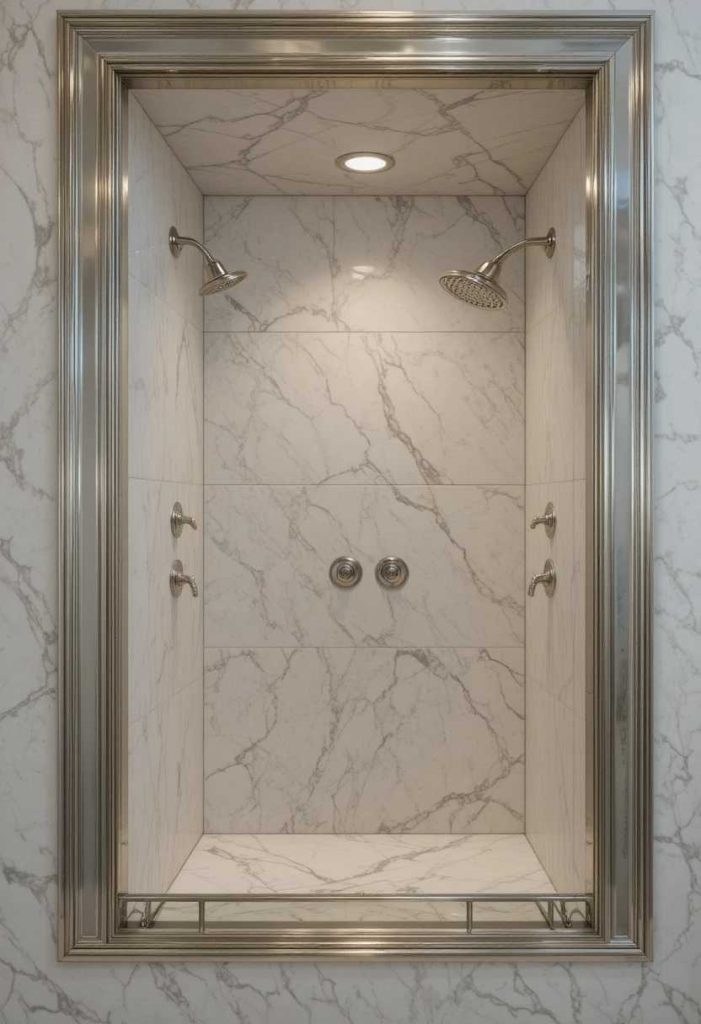
A metal edge frames the niche crisply. It adds a refined, finished detail. Mine looks polished and neat. It is a lovely way to add polish.
How to do it:
Add a brass, black, or chrome trim around the niche edge. Match it to your other fixtures. Fit it neatly for a crisp finish. Keep the trim consistent. Let it frame the niche.
9. Add a Niche in the Bath Surround
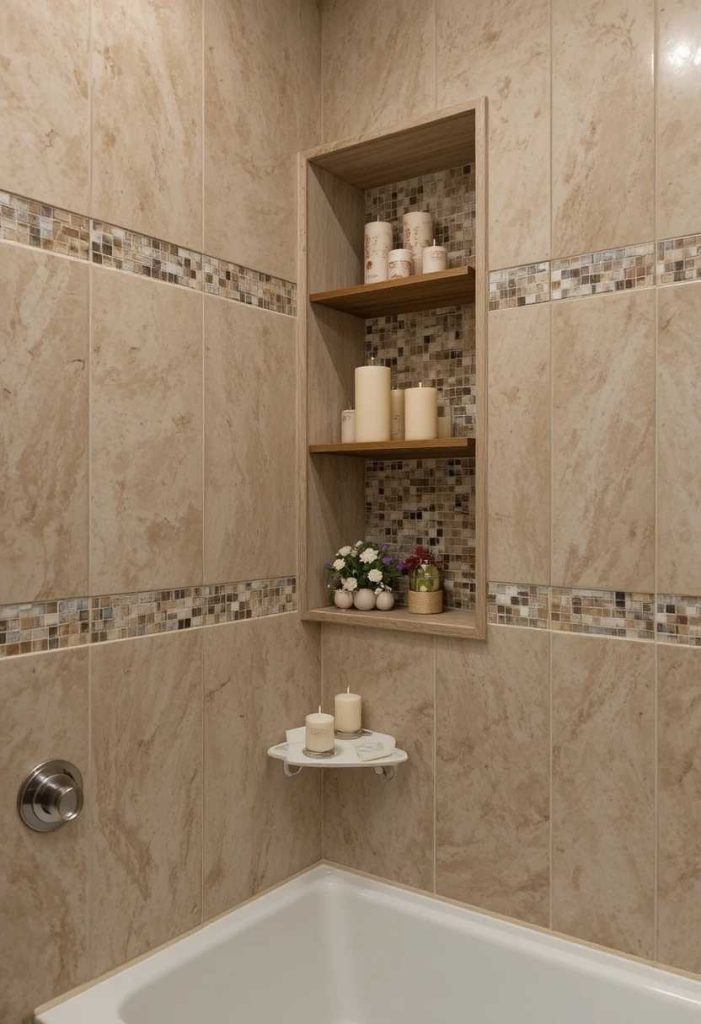
A niche beside the tub keeps bath bits handy. It works beyond the shower too. Mine holds candles and soaps. It is a practical, lovely touch.
How to do it:
Build a niche into the bath surround wall. Size it for bath products and candles. Tile it to match or contrast. Keep it within easy reach. Let it add handy bath storage.
10. Keep It Simple and Clean
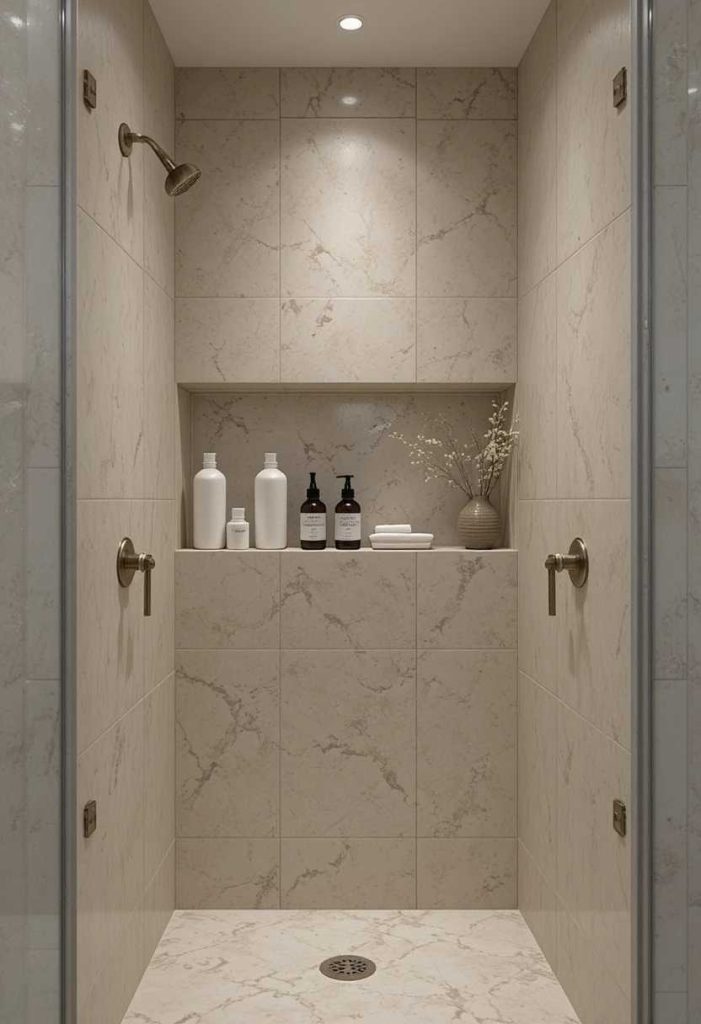
A simple, uncluttered niche feels calm and modern. Tidy storage looks lovely. Mine stays neat and minimal. It is a simple habit full of ease.
How to do it:
Keep only a few products in the niche. Choose matching bottles for a tidy look. Wipe it clean regularly. Avoid overcrowding it. Let it stay calm and minimal.
11. Add a Double Niche
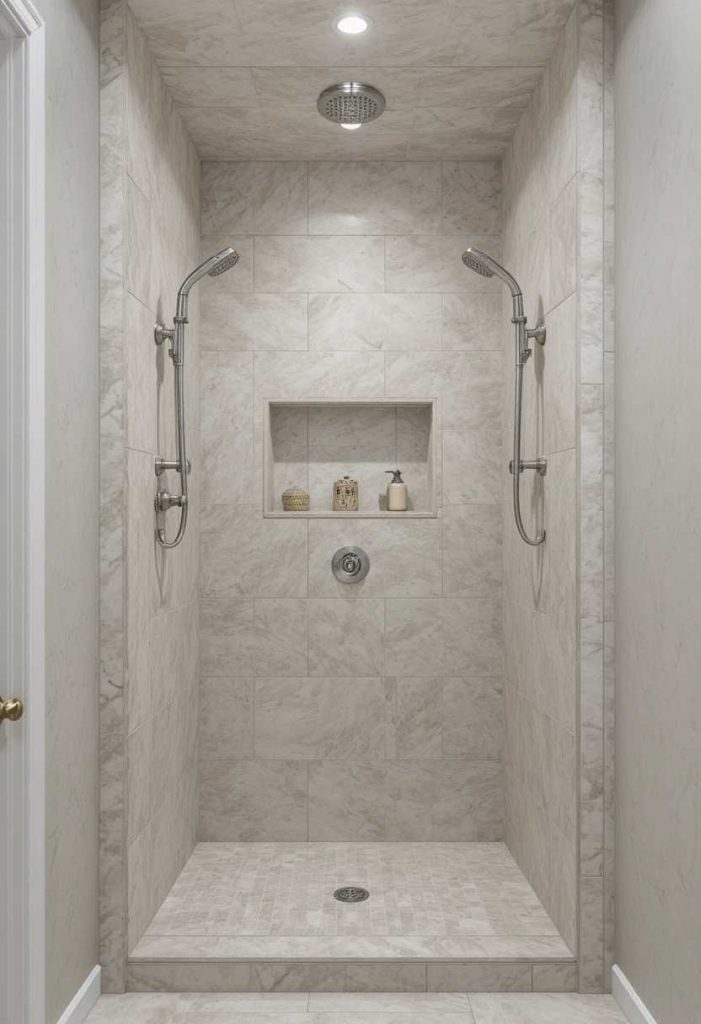
Two niches side by side add generous storage. They suit shared showers. Mine give everyone their own space. It is a smart way to add function.
How to do it:
Build two niches side by side or stacked. Give each person or purpose one. Tile them to match. Keep them at reachable heights. Let them add generous, shared storage.
12. Add a Mosaic Feature
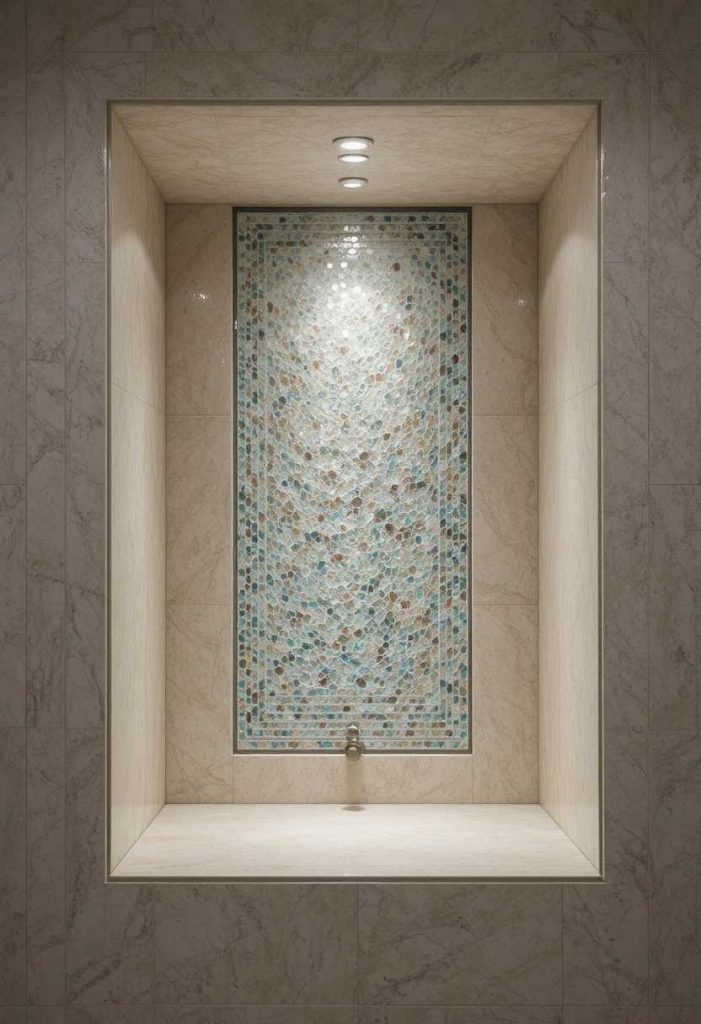
A mosaic tiled niche adds intricate charm. The small tiles catch the light. Mine feels like a jewel. It is a beautiful way to add character.
How to do it:
Line the niche with mosaic tile. Choose a colour or shimmer that suits your palette. Keep the surround simple. Grout the small tiles neatly. Let it sparkle as a feature.
13. Position It at the Right Height
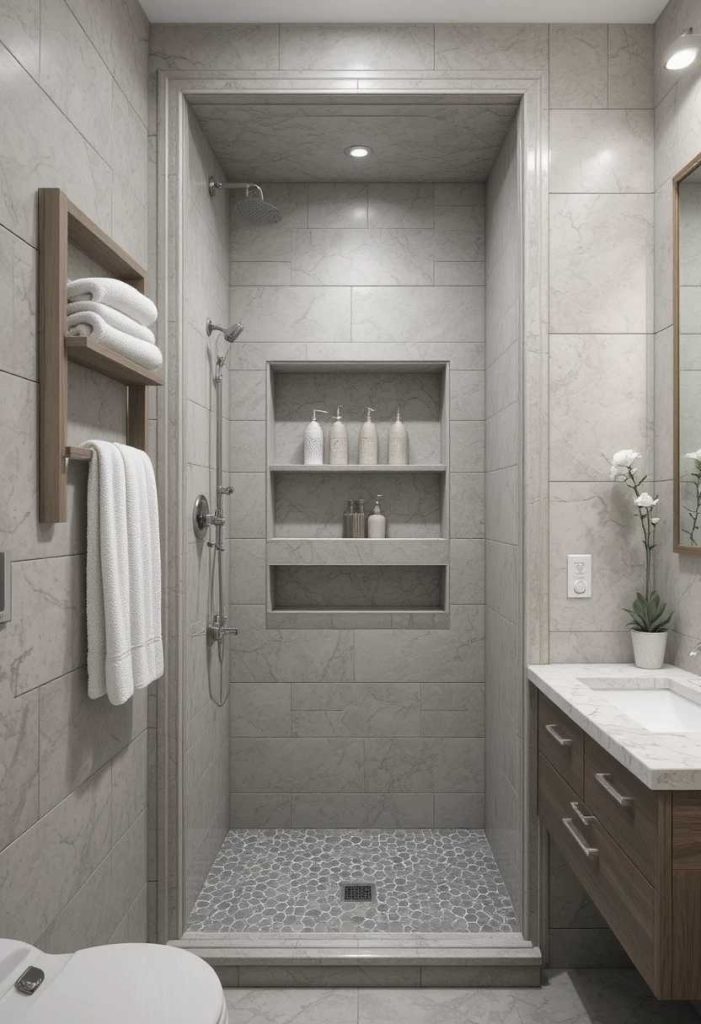
A well placed niche is easy to reach while showering. Height matters for comfort. Mine sits right where I need it. It is a practical, thoughtful touch.
How to do it:
Position the niche at chest or shoulder height. Keep it reachable without bending. Place it away from the direct spray if possible. Consider your household’s heights. Let it be comfortable to use.
14. Add a Framed Niche
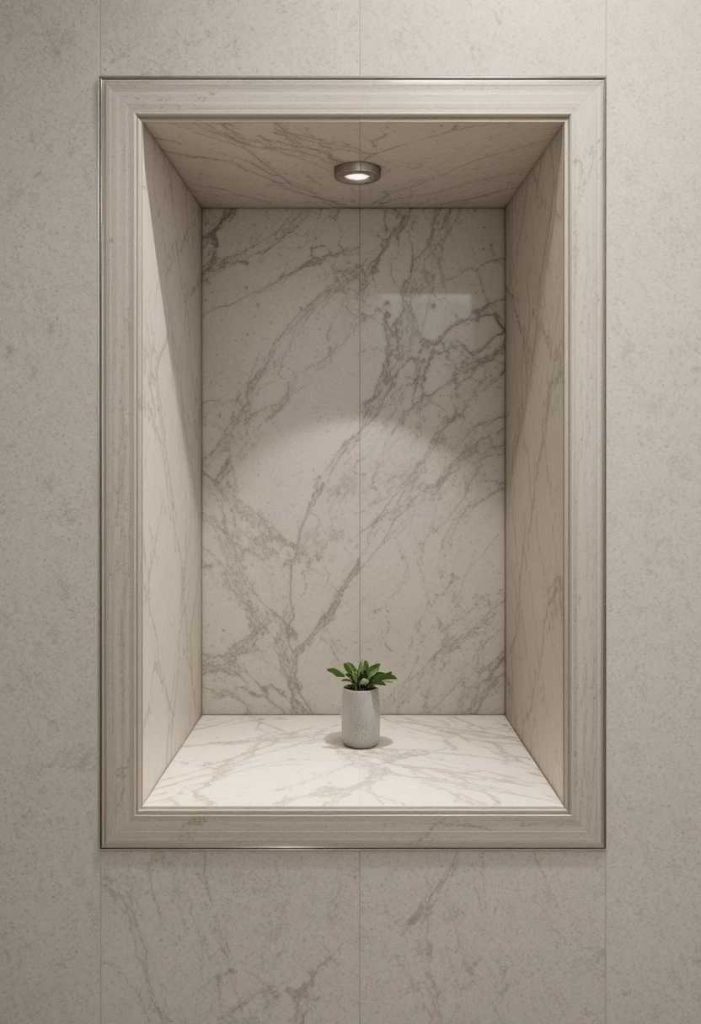
A framed edge gives the niche a crisp, built-in look. It defines the recess neatly. Mine looks tidy and finished. It is a lovely way to add polish.
How to do it:
Frame the niche with a tile border or metal edge. Keep the frame neat and even. Match it to the shower style. Ensure clean, sealed corners. Let it look crisp and built in.
15. Add a Warm Wood Look
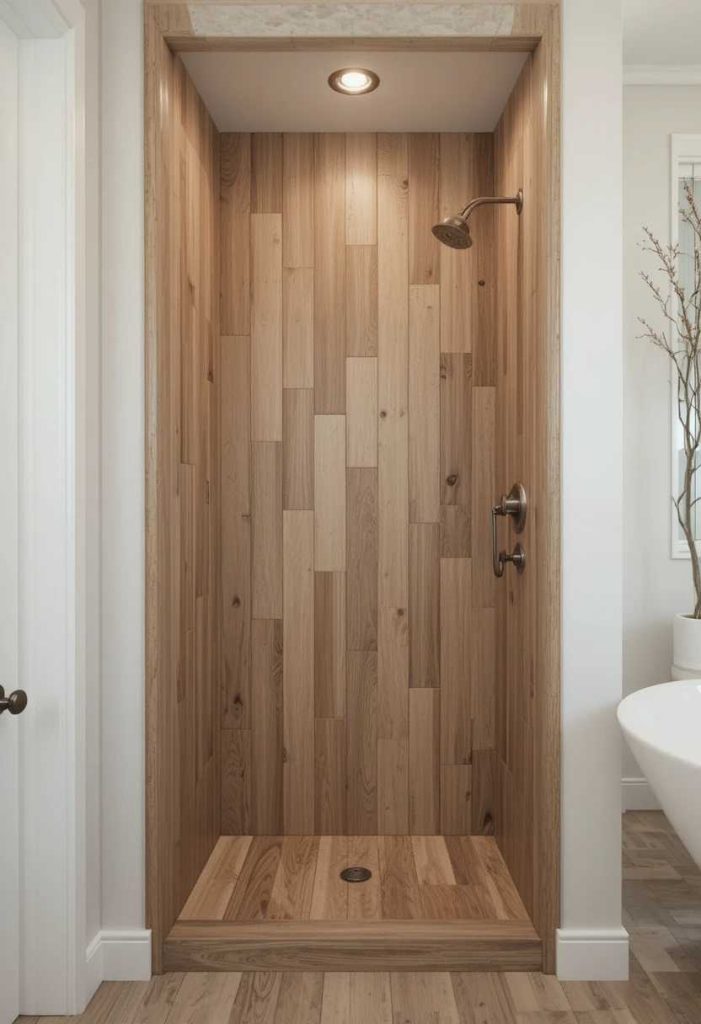
A wood look tile niche adds cozy warmth. It softens the shower. Mine feels natural and calming. It is a lovely way to add character.
How to do it:
Line the niche with wood-look porcelain tile. Choose a warm tone. Keep it well sealed against water. Pair it with the surround. Let it add cozy, natural warmth.
16. Add a Niche for the Shower Bench
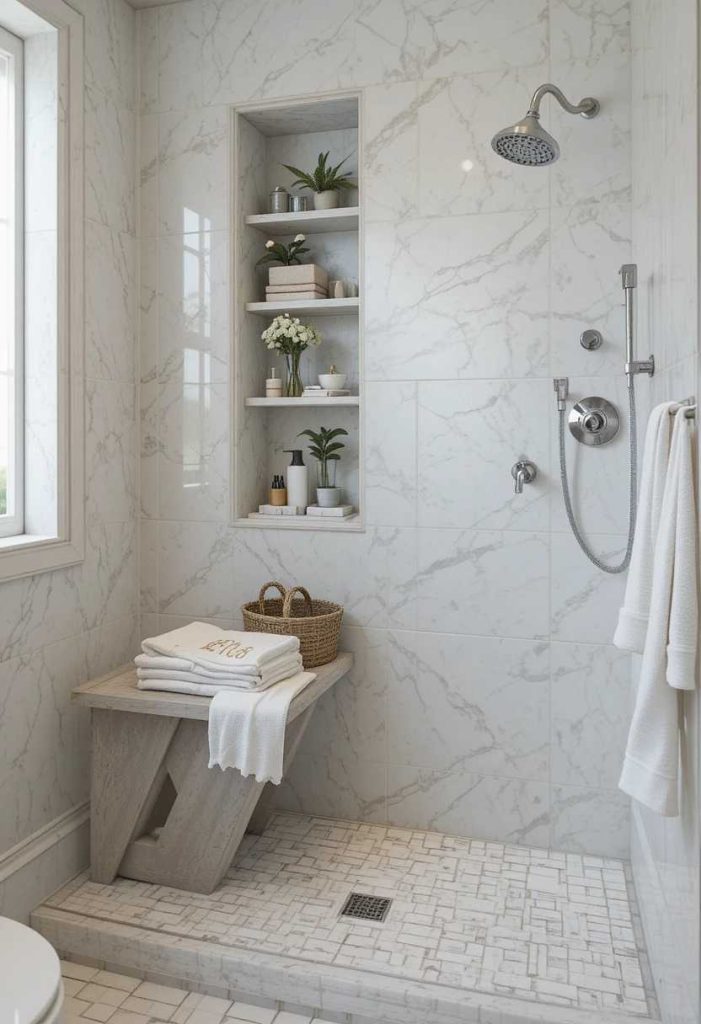
A niche near the bench keeps essentials close while seated. It adds convenience. Mine is handy for shaving. It is a practical, thoughtful touch.
How to do it:
Position a niche near the shower bench. Keep it within easy reach when seated. Size it for the products you use there. Tile it to match. Let it add seated convenience.
17. Add a Bold Colour Inside
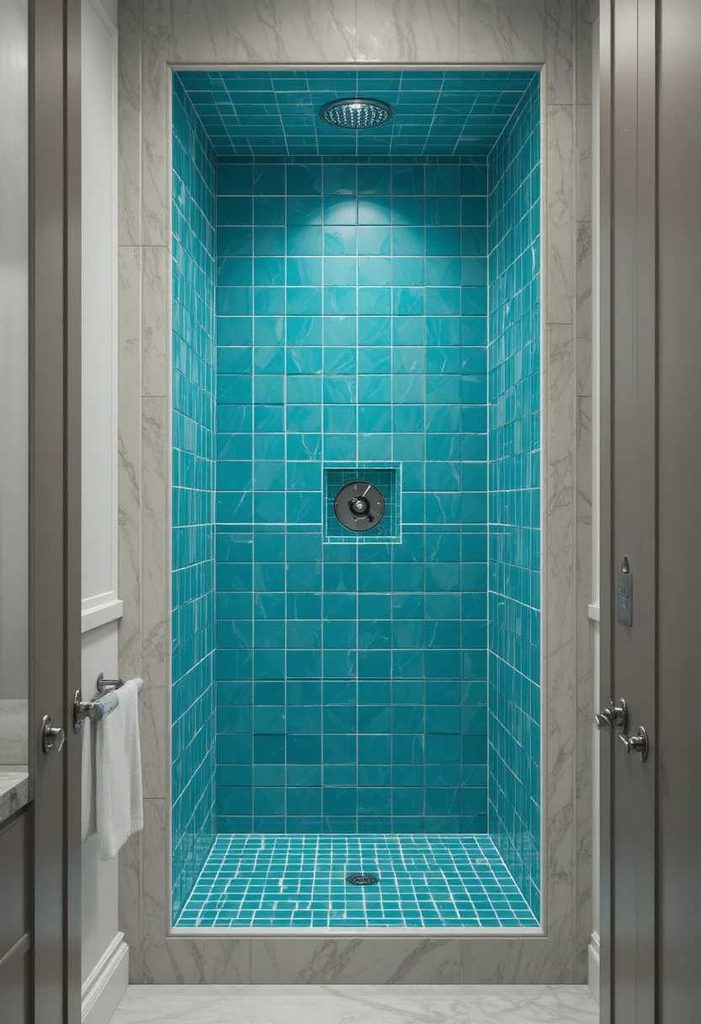
A bold coloured tile inside makes the niche pop. The colour adds personality. Mine surprises with a happy hue. It is a fun way to add character.
How to do it:
Tile the niche interior in a bold colour. Keep the surround neutral. Choose a shade you love. Frame it neatly. Let the colour add a joyful pop.
18. Keep the Base Sloped
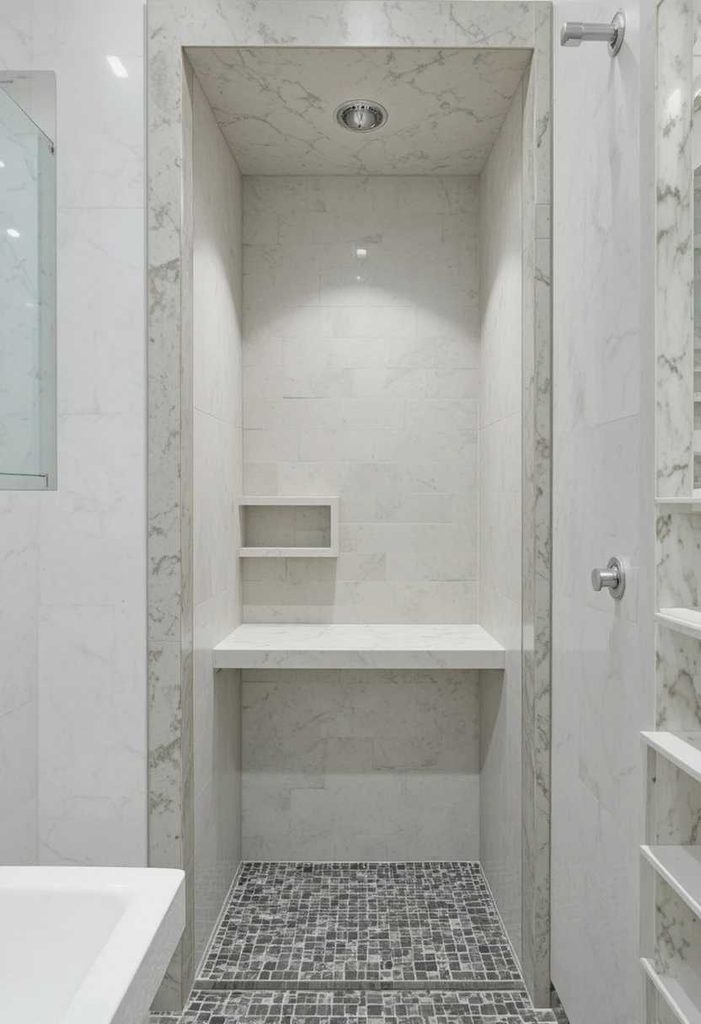
A slightly sloped niche base drains water away. It prevents pooling and stays clean. Mine dries quickly. It is a practical, sensible detail.
How to do it:
Slope the niche base gently toward the shower. It lets water drain away. Seal it well against leaks. Keep the slope subtle. It keeps the niche clean and dry.
19. Add a Niche in a Small Shower
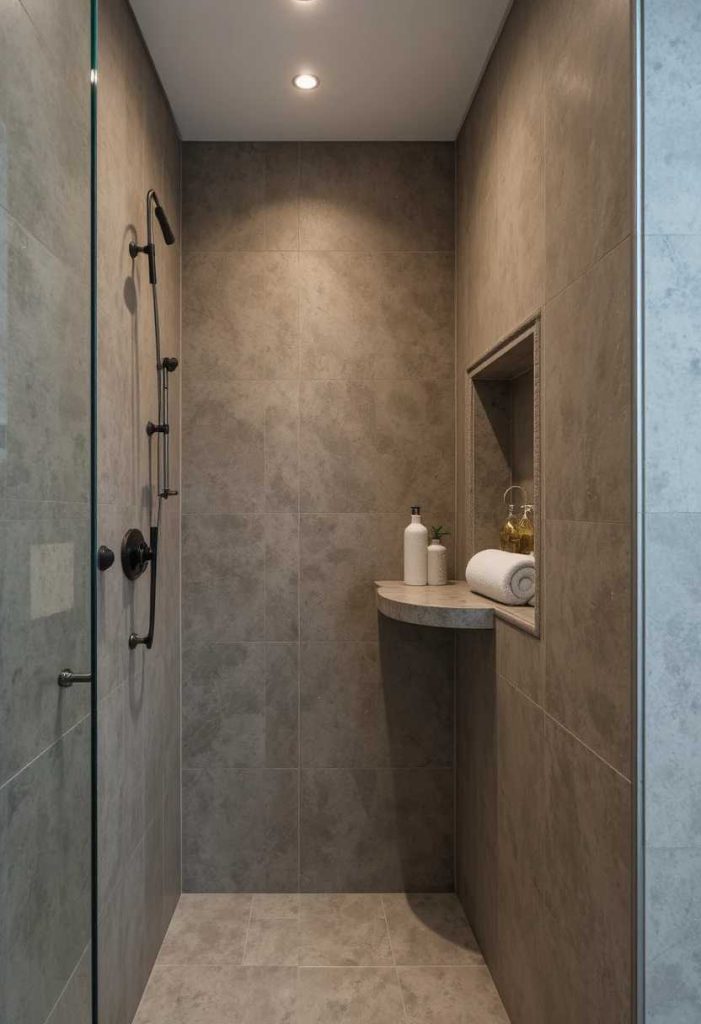
Even a small shower benefits from a recessed niche. It saves precious space. Mine made a tight shower far tidier. It is a smart way to add function.
How to do it:
Build a niche into a stud wall to save space. Keep it compact but usable. Position it where it fits between studs. Tile it neatly. Let it tidy a small shower.
20. Add Two-Tone Tile
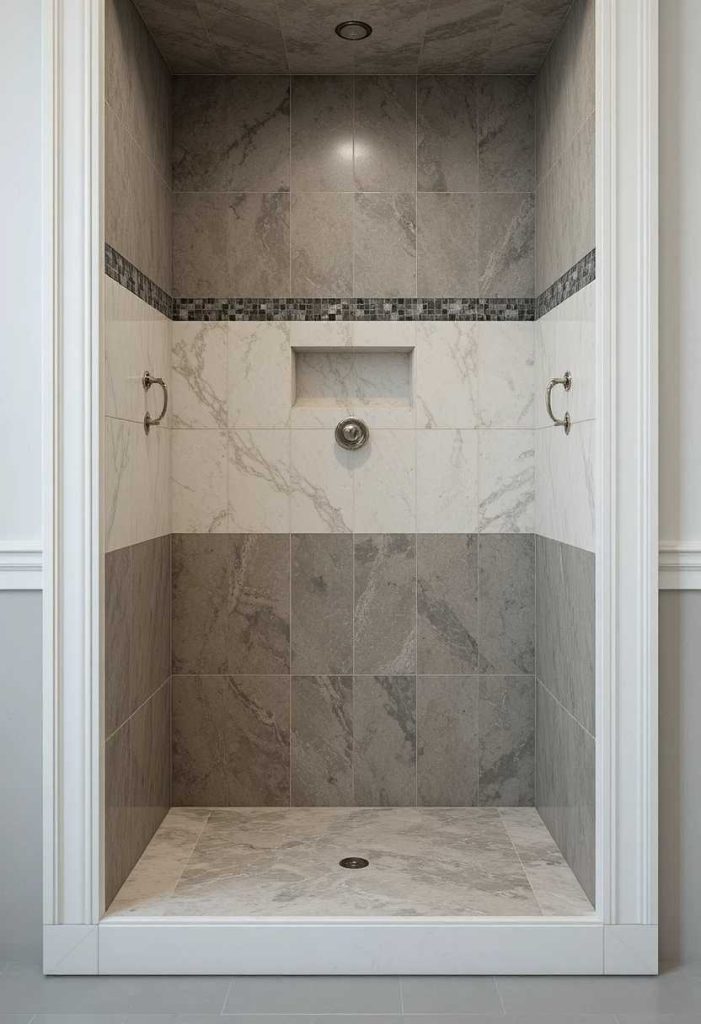
A niche in a second tile tone adds gentle contrast. It feels designed. Mine ties into the palette nicely. It is a lovely way to add interest.
How to do it:
Tile the niche in a complementary second tone. Keep it within your palette. Frame the edges neatly. Balance it with the surround. Let it add gentle designed contrast.
21. Add a Hidden Niche Behind the Door
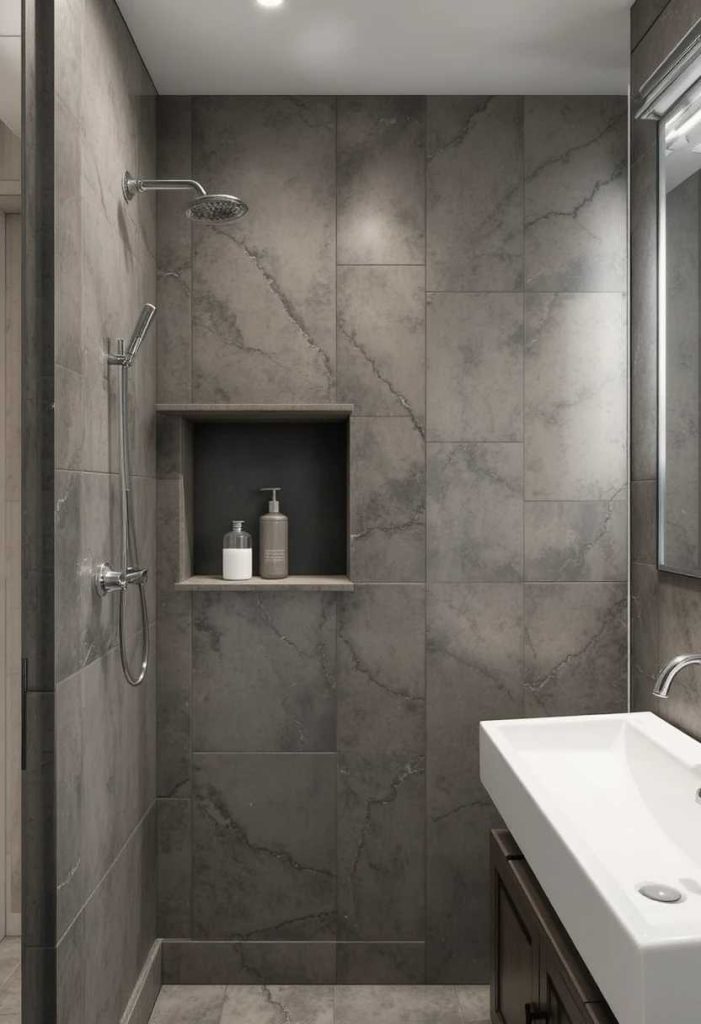
Placing the niche on a side wall keeps it discreet. It tidies without drawing the eye. Mine stays neatly out of the main view. It is a clever way to add storage.
How to do it:
Position the niche on a less visible side wall. Keep it discreet and practical. Tile it to blend in. Ensure it is still reachable. Let it tidy without dominating.
22. Match It to the Vanity
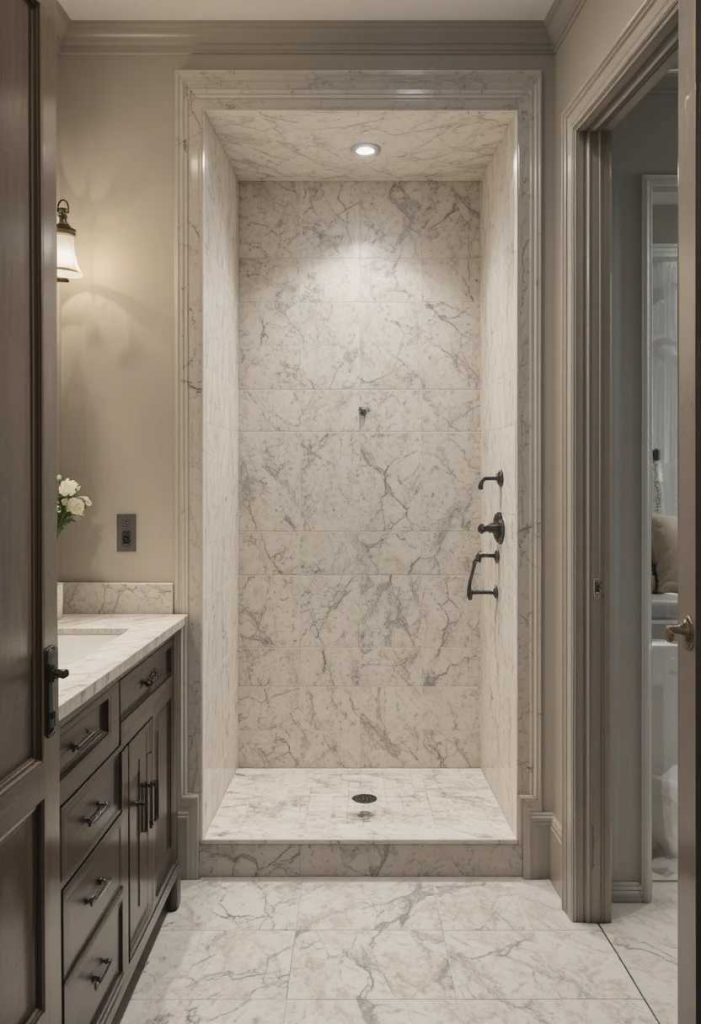
Echoing the vanity tones in the niche ties the bathroom together. The cohesion feels considered. Mine blends beautifully. It is a lovely way to add harmony.
How to do it:
Echo the vanity’s tones or materials in the niche. Match the metal trim to the taps. Keep finishes cohesive. Let the room feel connected. Balance the niche with the space.
23. Add a Statement Trim Colour
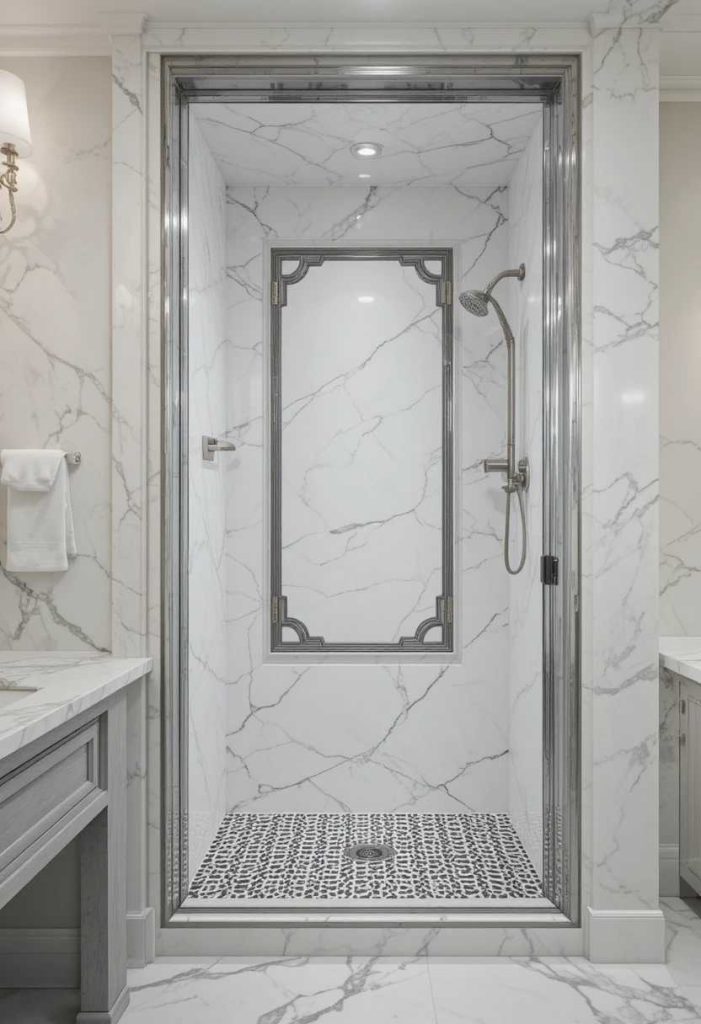
A bold trim edge makes the niche a graphic feature. The outline draws the eye. Mine looks crisp and modern. It is a striking way to add character.
How to do it:
Add a bold trim in black or a bright metal. Frame the niche crisply. Keep the interior calm. Match it to another accent. Let the outline add graphic style.
24. Keep It Well Sealed
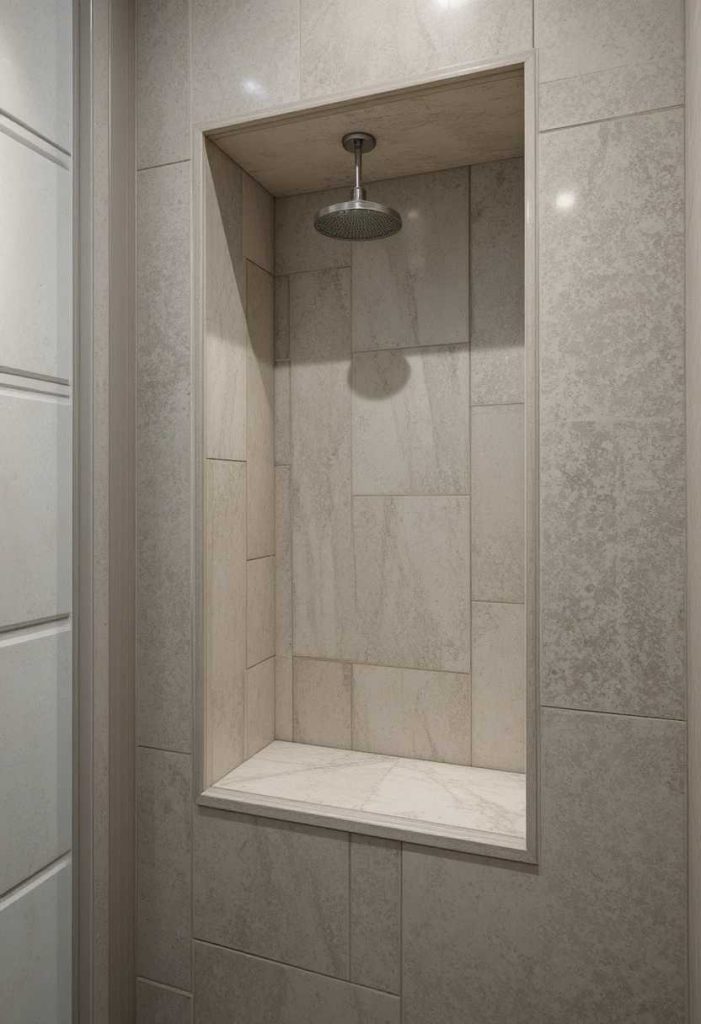
Good sealing keeps the niche watertight and lasting. It prevents leaks and mould. Mine stays clean and dry. It is an essential, sensible step.
How to do it:
Waterproof the niche thoroughly before tiling. Seal all corners and edges well. Slope the base for drainage. Re-seal grout as needed. Keep it clean to prevent mould.
25. Make It Stylish and Personal
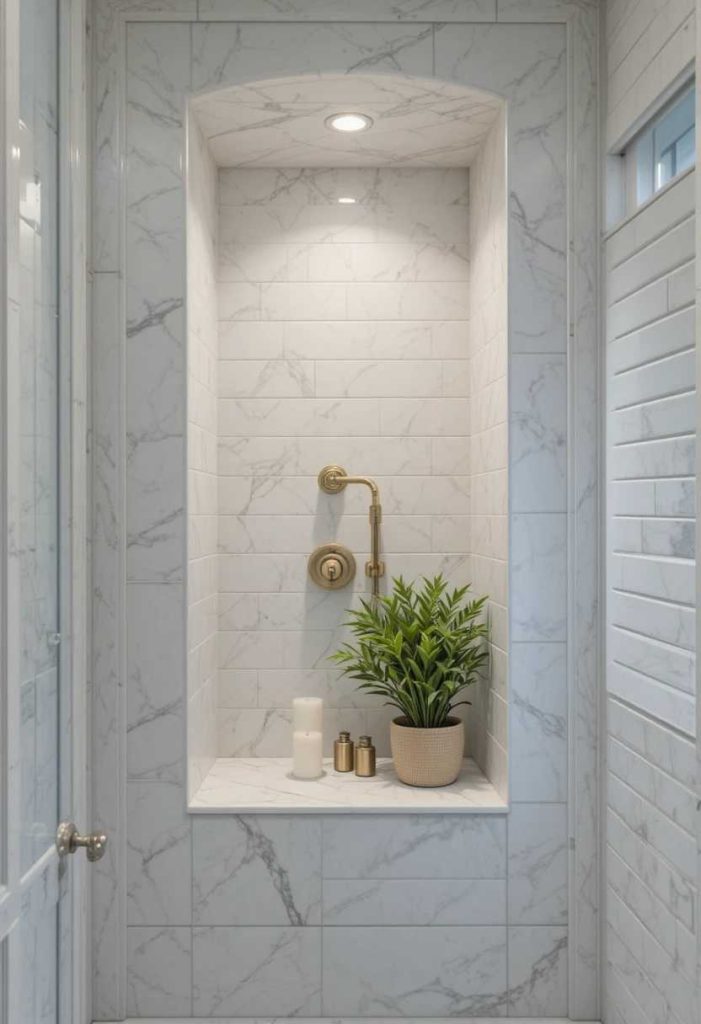
Finally, the best niche is both practical and a lovely little detail. A pretty tile, a candle, or a plant adds charm. In my own home, styling the niche made it feel special. It is the loving finishing touch that turns simple storage into a stylish shower feature you enjoy.
How to do it:
Add a pretty tile, a small plant, or a candle. Choose details that bring you calm. Keep it practical yet lovely. Let it reflect your style. Above all, make it a stylish little feature you enjoy.
A Final Gentle Thought
Whichever ideas inspire you most, a shower niche brings tidy, stylish storage that keeps your shower calm and clutter free. Plan the size and tile that suit your space, and let it become a lovely little feature. In my own home, this small addition made a surprising difference. May your shower always feel tidy, calm, and beautifully organized.