25 IKEA Built-In Hack Ideas for a High-End Custom Look
IKEA built-in hacks are a clever, budget-friendly way to get the look of expensive custom cabinetry using affordable, flexible IKEA units. With a few tweaks, such as trim, new fronts, paint, and clever fitting, ordinary flat-pack pieces transform into seamless, high-end built-ins. In my own home, an IKEA hack gave me a bespoke-looking wall of storage for a fraction of the cost. With smart planning and thoughtful finishing touches, it becomes both functional and beautifully custom. Below are twenty five IKEA built-in hack ideas, shared with warmth and a few lessons from my own home, along with simple steps to help you bring each one to life.
Key Takeaways
• Close the gaps: Trim and filler panels make IKEA units look seamlessly built-in, not freestanding.
• Upgrade the fronts: Custom or painted door and drawer fronts instantly elevate the look.
• Build it to the ceiling: Extending units up with trim removes the tell-tale gap for a custom feel.
• Add finishing details: Handles, moulding, and paint tie it all together for a high-end finish.
• Plan carefully: Measure well and plan the layout so units fit the space seamlessly.
1. Close the Gaps With Trim
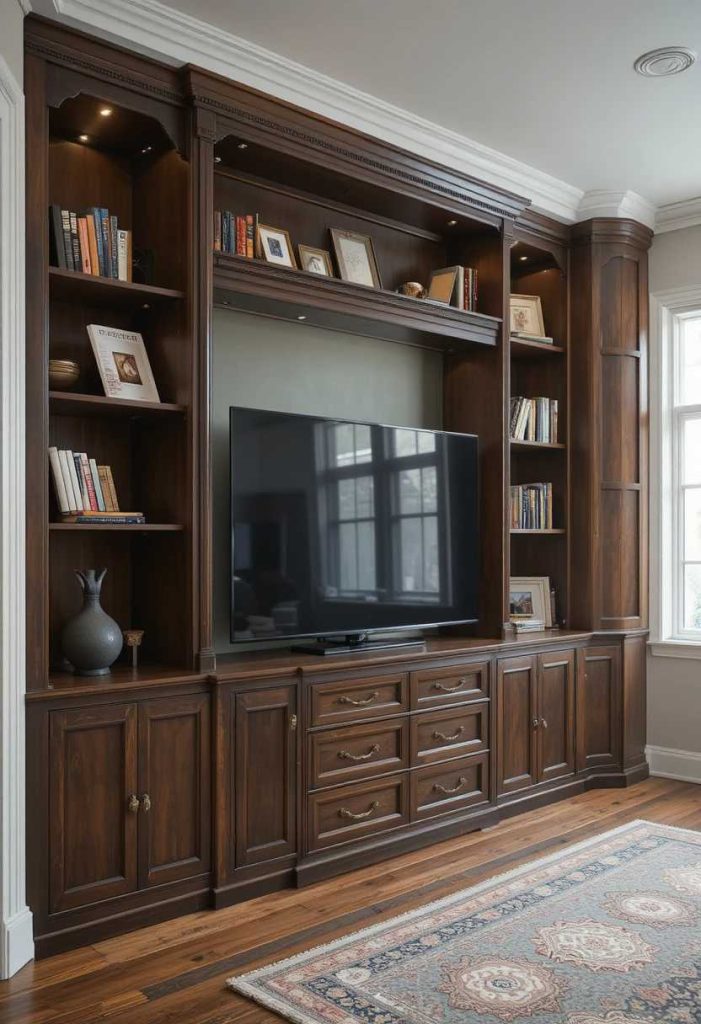
Trim and filler panels make units look seamlessly built-in. They hide the freestanding look. In my home, trim transformed the whole wall. It is the loveliest place to begin.
How to do it:
Add trim and filler panels around the units. Fill gaps against walls and the ceiling. Use scribe pieces for uneven walls. Paint them to match. Let them look seamlessly built-in.
2. Build It to the Ceiling
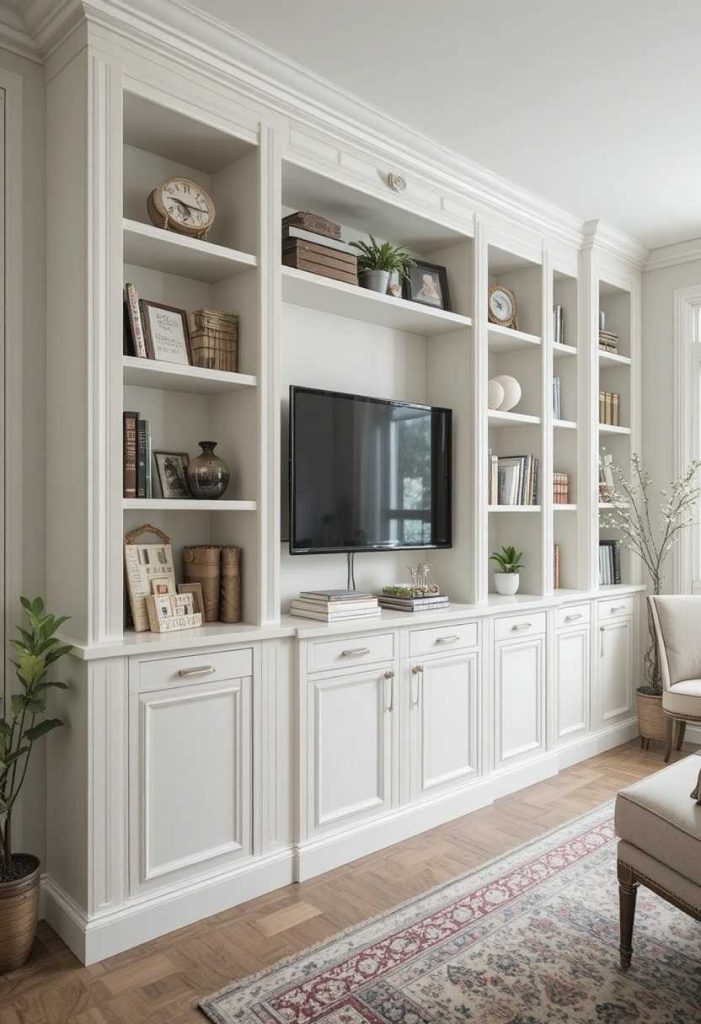
Extending units to the ceiling removes the tell-tale gap. It feels custom and grand. Mine look built for the space. It is a smart way to add polish.
How to do it:
Extend the units up to the ceiling. Add a topper or trim to fill the gap. Fix it securely. Paint it to match. Let it remove the tell-tale gap.
3. Add a Base or Plinth
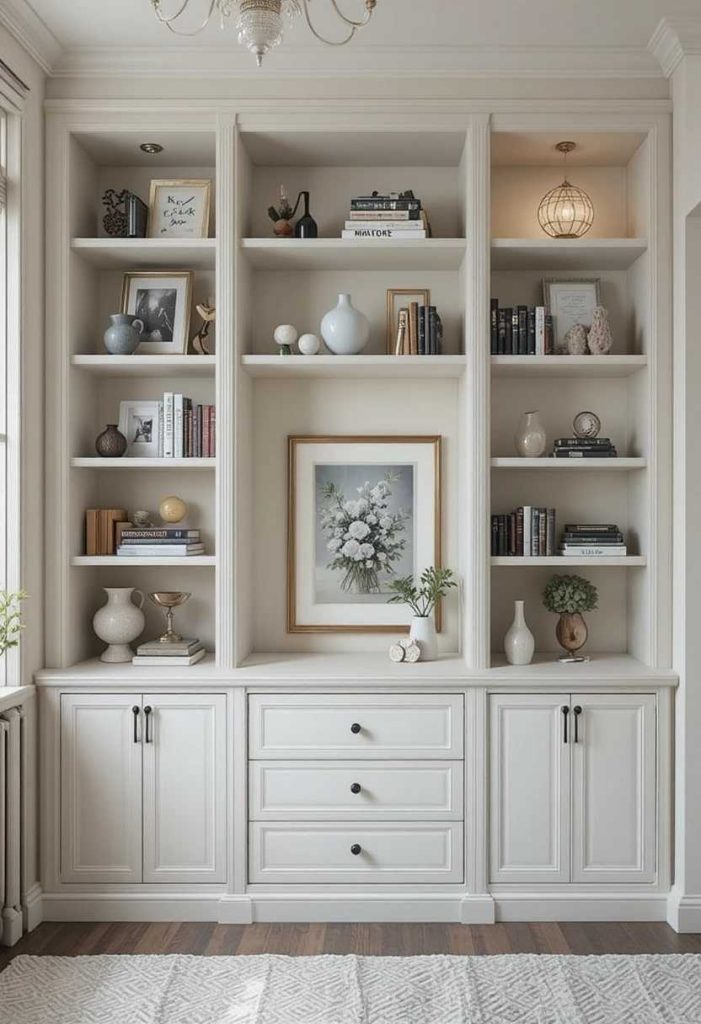
A built base makes units look grounded and custom. It hides the legs. Mine look rooted to the floor. It is a lovely way to add polish.
How to do it:
Build a base or plinth under the units. Recess it slightly for a toe kick. Paint it to match. Ensure it is level. Let it look grounded and custom.
4. Upgrade the Fronts
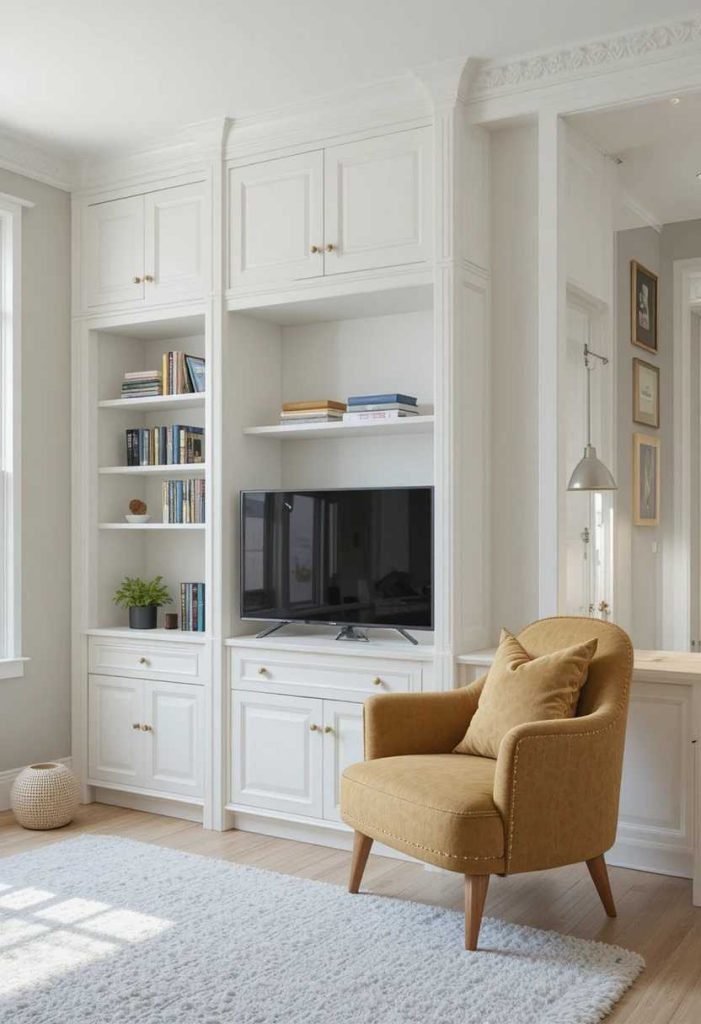
Custom or painted fronts instantly elevate the look. They transform plain units. Mine look bespoke now. It is a lovely way to add character.
How to do it:
Replace or paint the door and drawer fronts. Choose custom fronts or paint the originals. Pick a high-end colour. Keep the finish smooth. Let them elevate the look.
5. Add Nice Handles
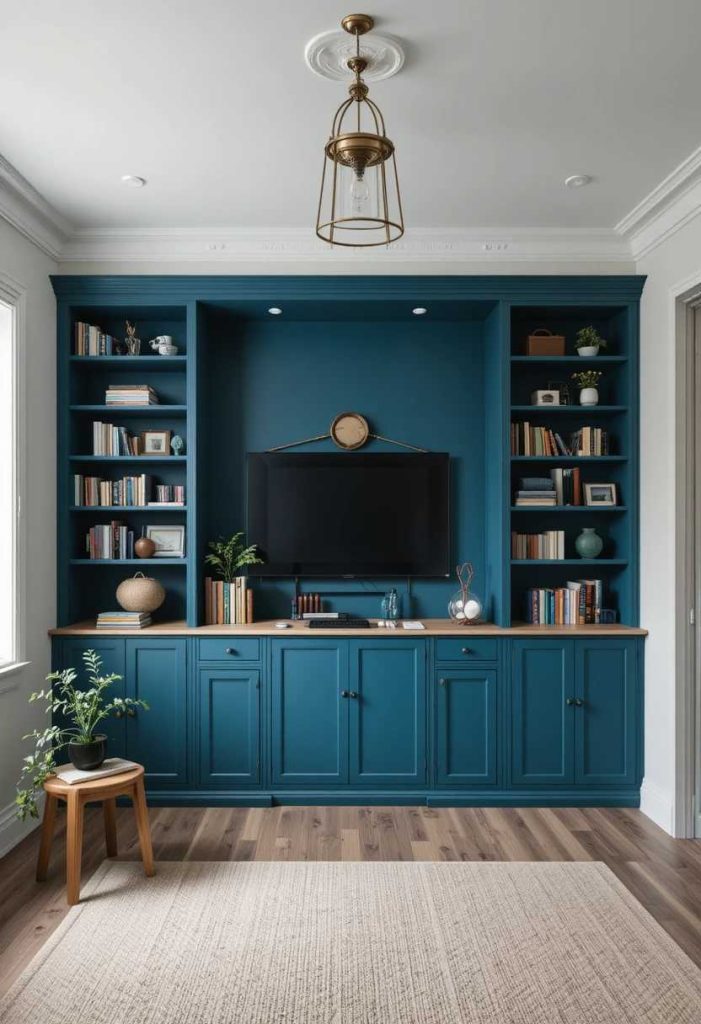
Quality handles make a huge difference. They upgrade the whole piece. Mine add a high-end touch. It is a simple way to add polish.
How to do it:
Swap the handles for quality ones. Choose brass, black, or a style you love. Keep them consistent. Fit them evenly. Let them upgrade the whole piece.
6. Add Crown Moulding
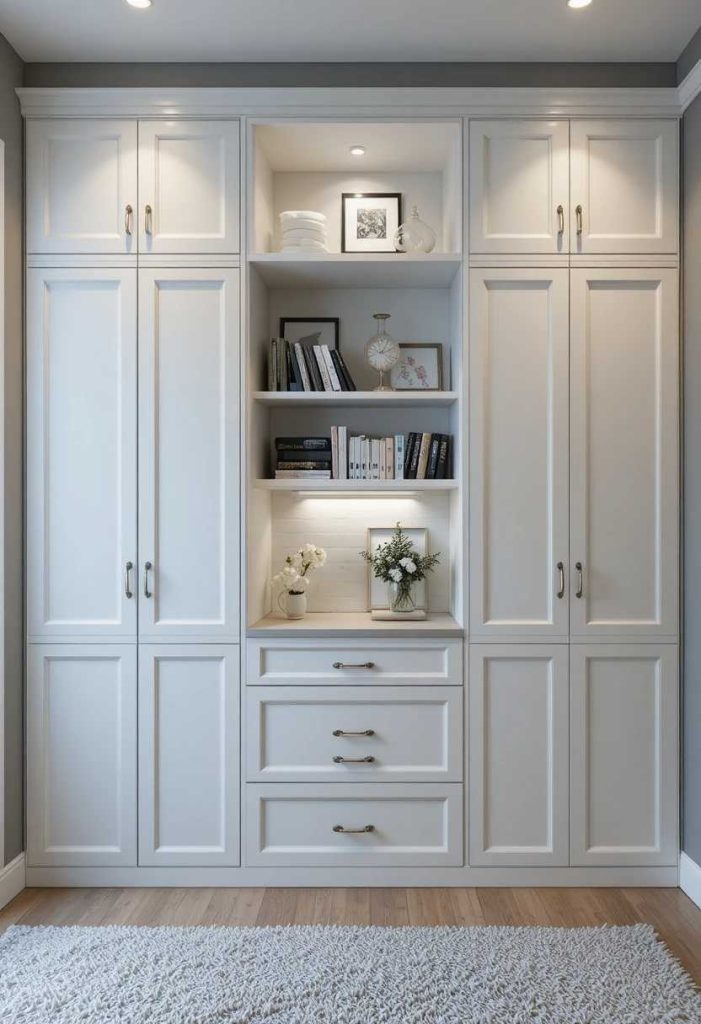
Moulding at the top adds a custom, finished detail. It ties it to the room. Mine look joined to the ceiling. It is a lovely way to add polish.
How to do it:
Add crown moulding along the top. Match it to the room’s trim. Fit it neatly. Paint it to match. Let it add a finished detail.
7. Paint It a Cohesive Colour
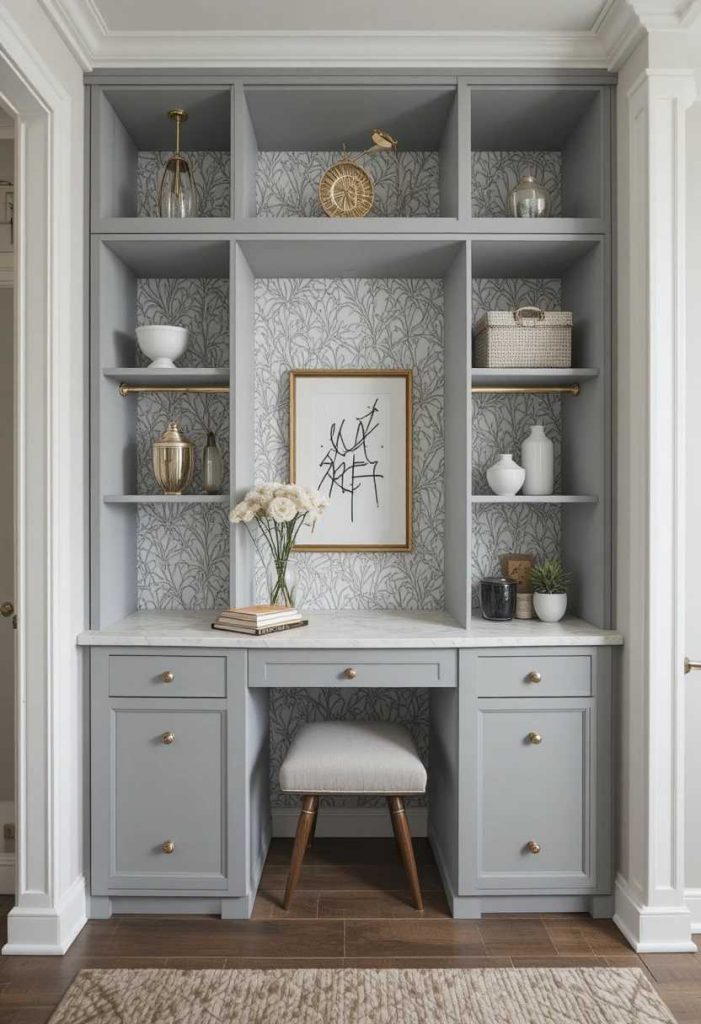
Painting the whole unit one colour looks seamless and custom. It unifies the piece. Mine feels bespoke. It is a lovely way to add polish.
How to do it:
Paint the units and trim one cohesive colour. Choose a high-end tone. Use a smooth, durable finish. Cover the fronts and trim. Let it look seamless.
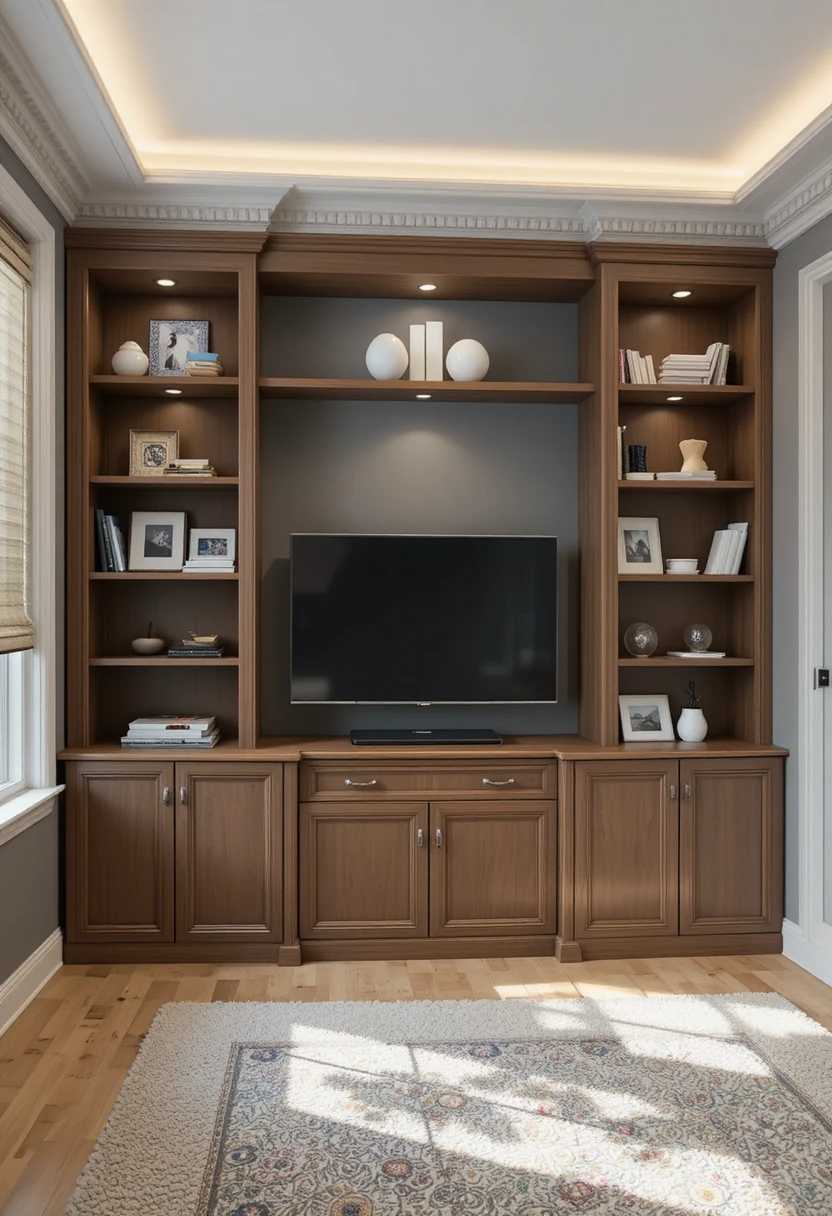
8. Hack a BESTA Media Wall
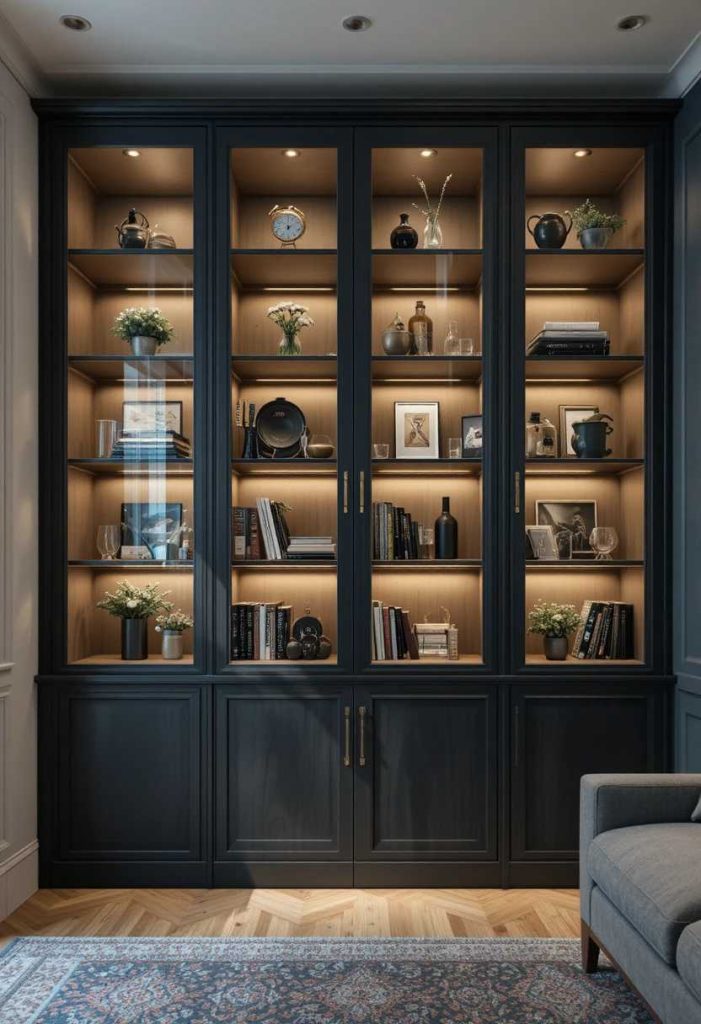
BESTA units make a sleek built-in media wall. They hide the TV clutter. Mine look custom and tidy. It is a smart way to add function.
How to do it:
Combine BESTA units into a media wall. Add trim and a topper. Fit it around the TV. Add nice fronts and handles. Let it look custom and tidy.
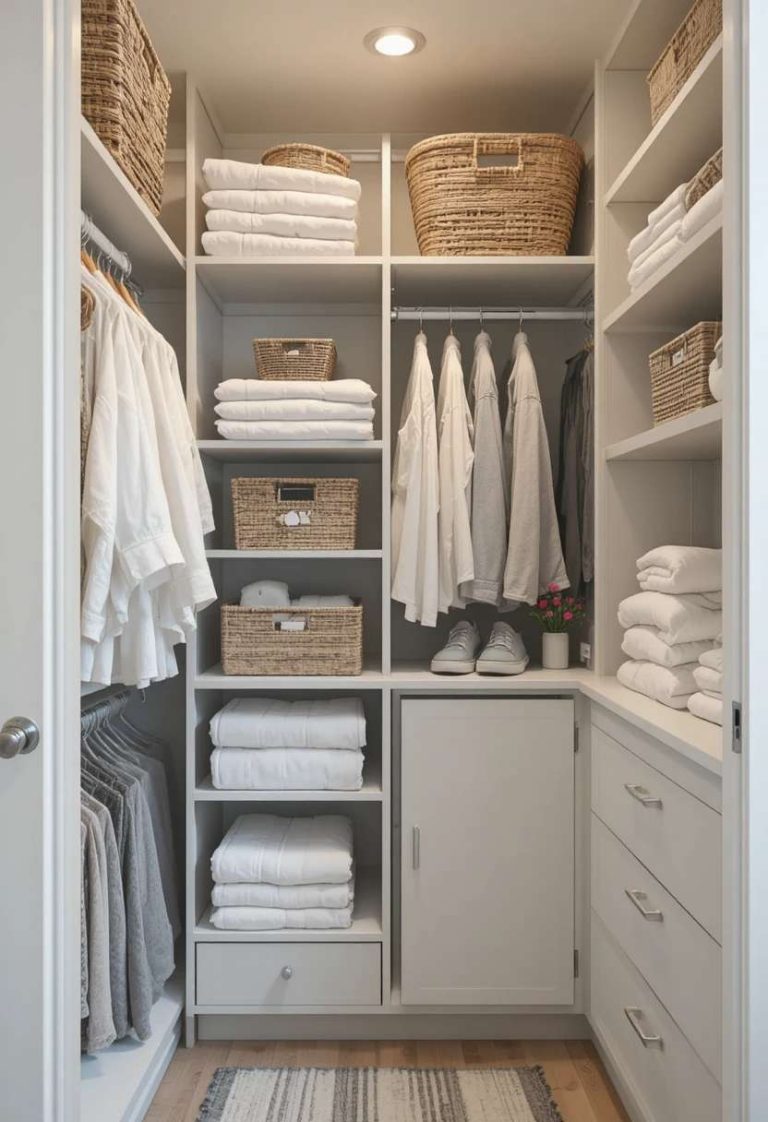
9. Hack a PAX Wardrobe
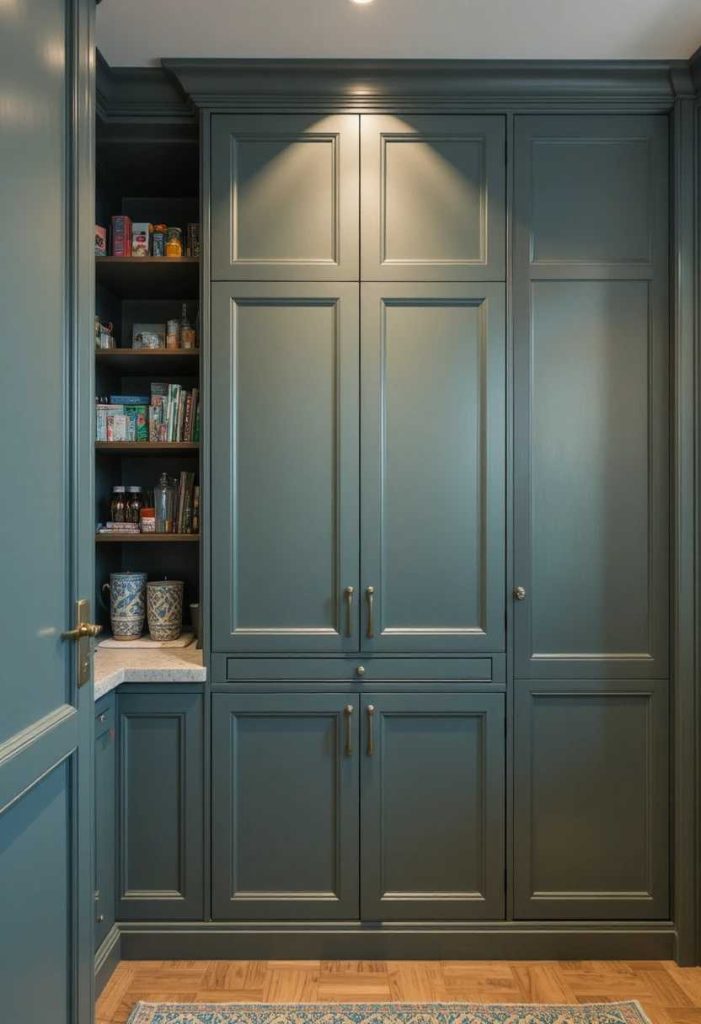
PAX units make a built-in wardrobe look bespoke. They maximize storage. Mine look like fitted joinery. It is a smart way to add function.
How to do it:
Fit PAX units wall to wall. Add trim and filler panels. Extend to the ceiling. Add custom fronts and handles. Let it look like fitted joinery.
10. Hack a BILLY Bookcase Wall
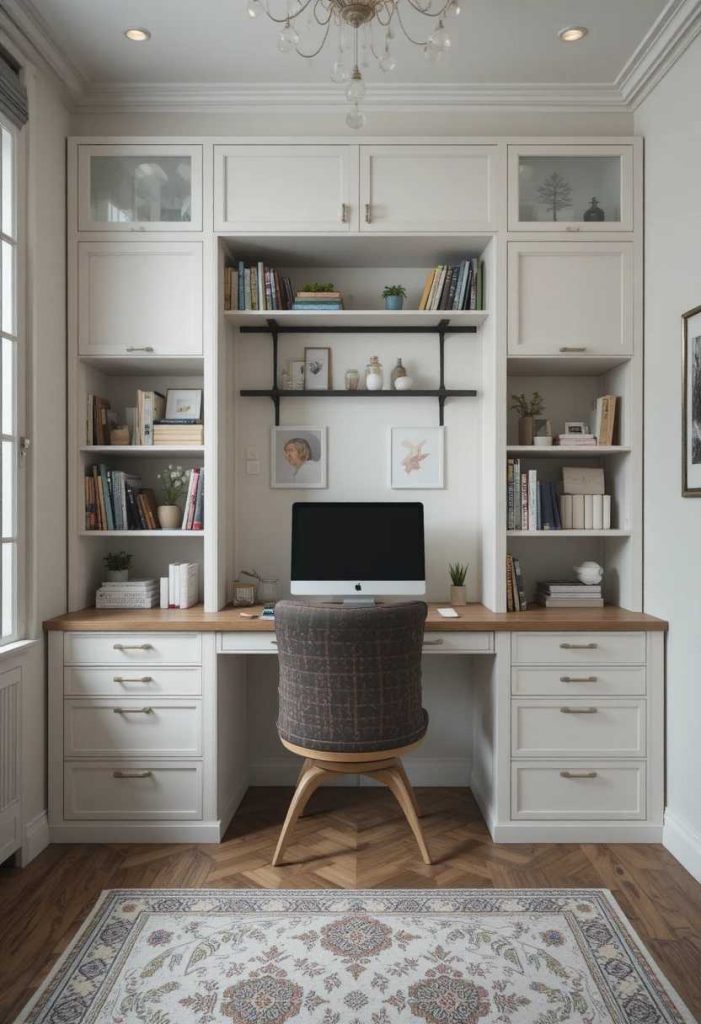
BILLY units make a custom-looking library wall. They fill the space beautifully. Mine look built-in and grand. It is a smart way to add function.
How to do it:
Line a wall with BILLY bookcases. Add trim, a base, and a topper. Fill gaps with panels. Add moulding and paint. Let it look like a custom library.
11. Add Integrated Lighting
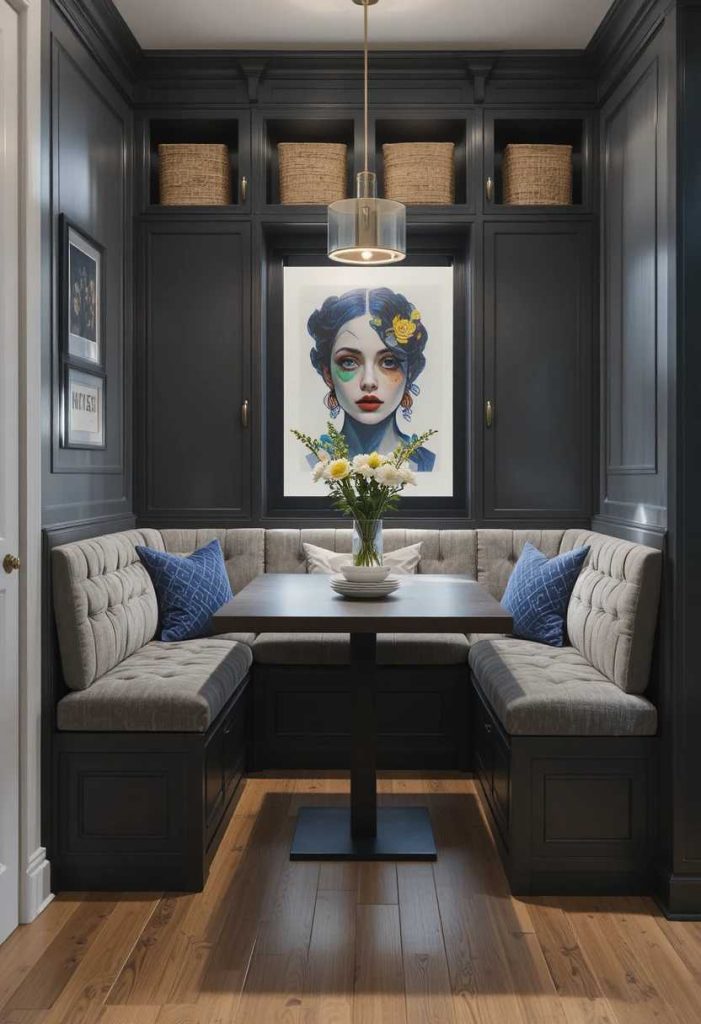
Built-in lighting adds a high-end, custom glow. It highlights the piece. Mine light the shelves beautifully. It is a lovely way to add character.
How to do it:
Add LED strip lighting to shelves or the top. Choose a warm glow. Route the wiring neatly. Add a switch. Let it add a high-end glow.
12. Add a Fluted Detail
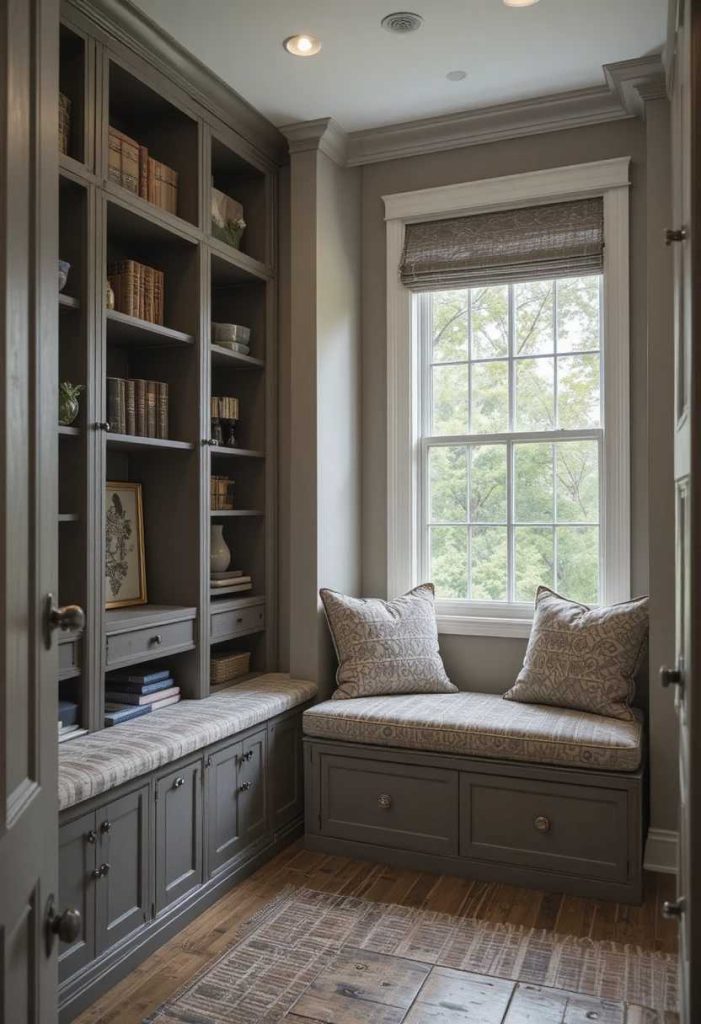
Fluted panels on the fronts add texture and luxury. They feel custom. Mine look refined and current. It is a lovely way to add character.
How to do it:
Add fluted or reeded panels to the fronts. Fix them neatly. Paint them to match. Keep the lines even. Let them add textured luxury.
13. Frame It With Panelling
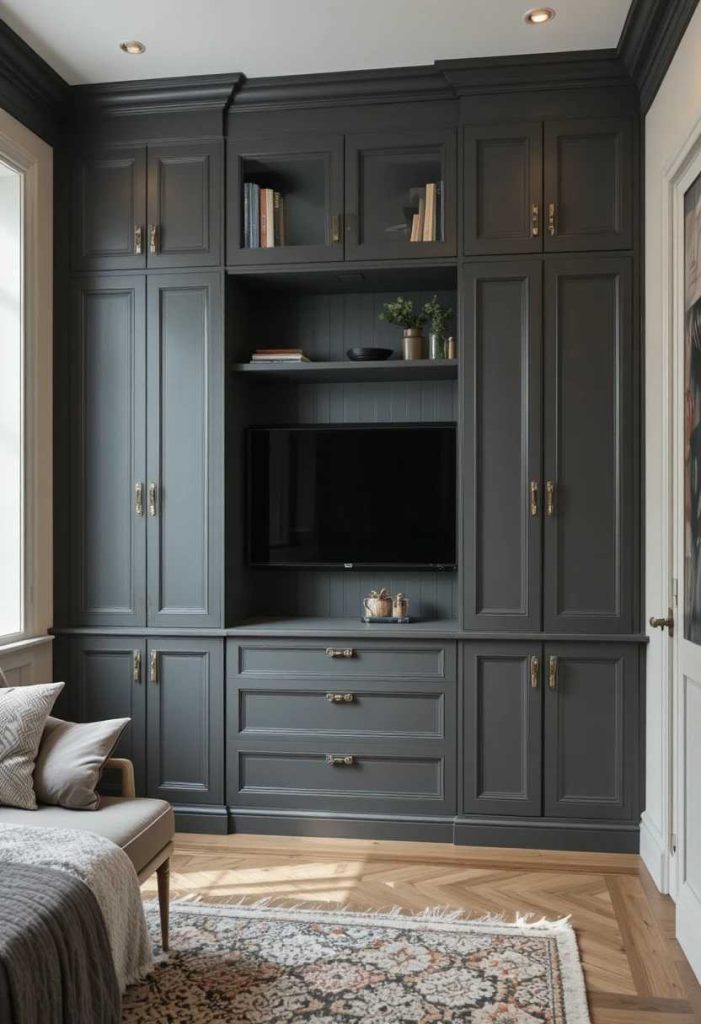
Surrounding the units with panelling ties them to the wall. It looks fully built-in. Mine blend into the room. It is a lovely way to add polish.
How to do it:
Add panelling around and above the units. Frame them into the wall. Paint it all one colour. Keep the lines neat. Let them look fully built-in.
14. Add a Window Seat Hack
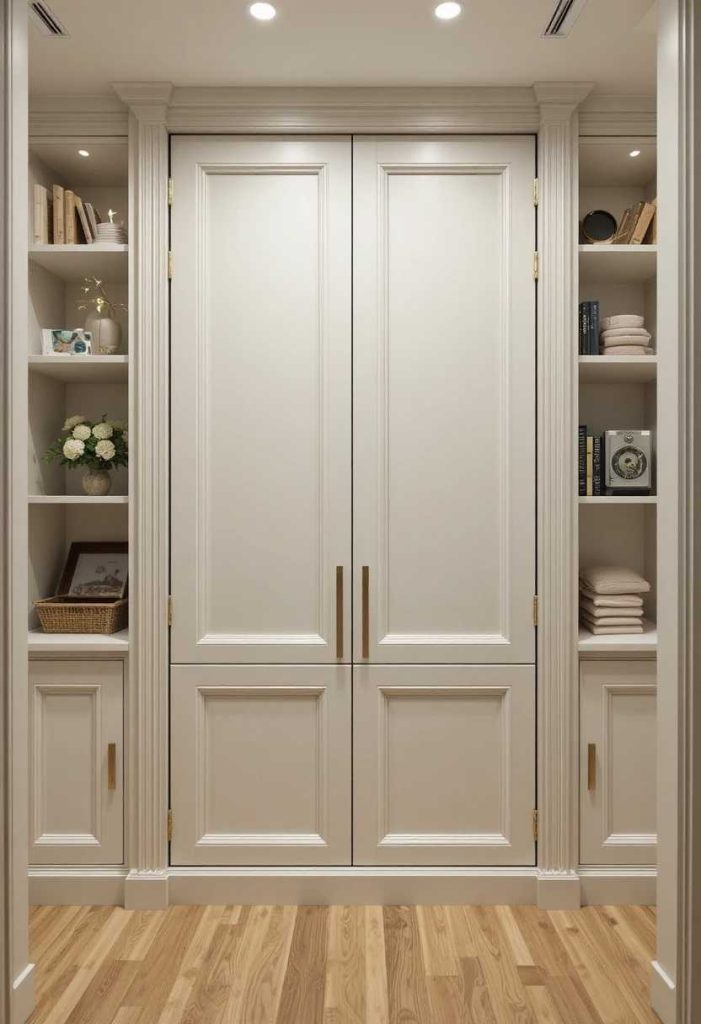
Low units topped with a cushion make a built-in window seat. They add storage and seating. Mine is a cozy custom nook. It is a smart way to add function.
How to do it:
Fit low units under a window. Top them with a cushioned seat. Add trim to build them in. Store bits inside. Let it become a window seat.
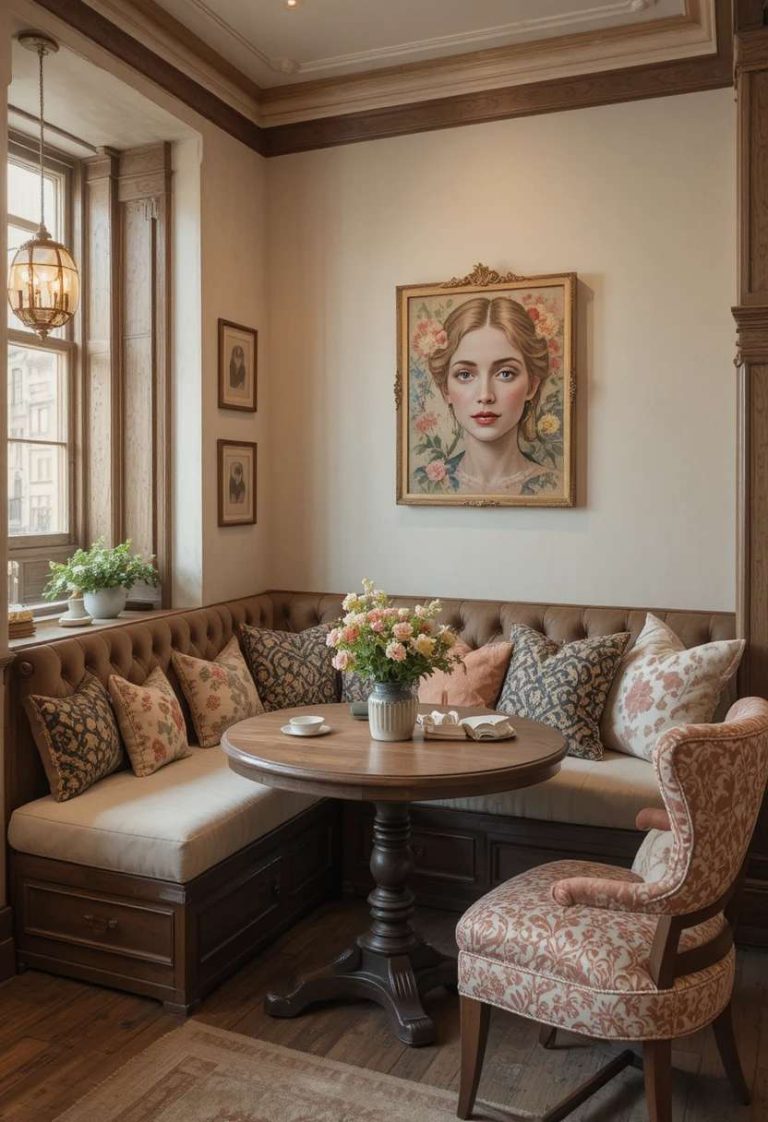
15. Hack a Banquette
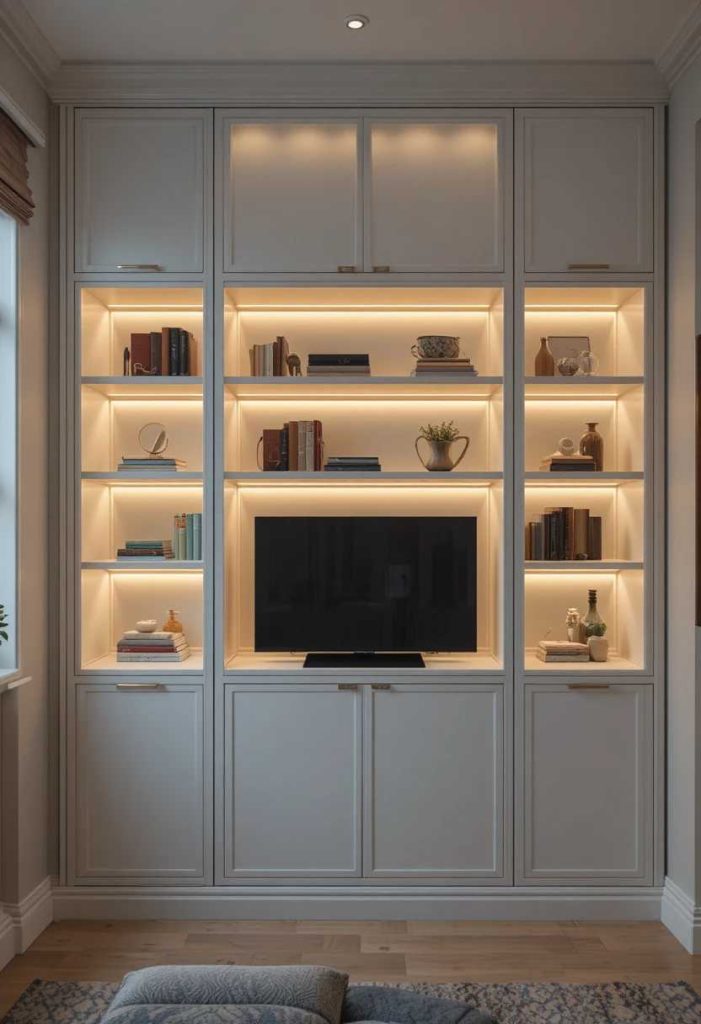
Low units make a built-in banquette for dining. They add cozy seating. Mine look custom and hold storage. It is a smart way to add function.
How to do it:
Use low units to build a banquette. Top them with cushions. Add trim to build them in. Use the base for storage. Let it become a custom banquette.
16. Add a Desk Built-In
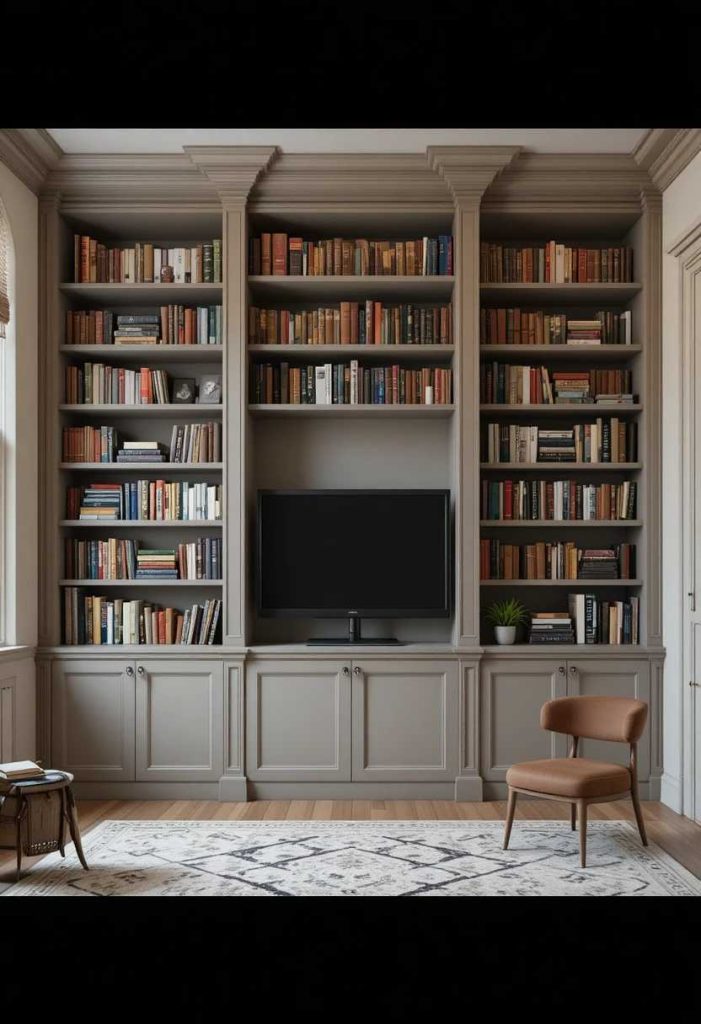
Units plus a worktop make a built-in desk. They create a custom office. Mine look like fitted joinery. It is a smart way to add function.
How to do it:
Combine units with a worktop for a desk. Add trim and a base. Include drawers and shelves. Add good light. Let it become a custom desk.
17. Match It to the Wall Colour
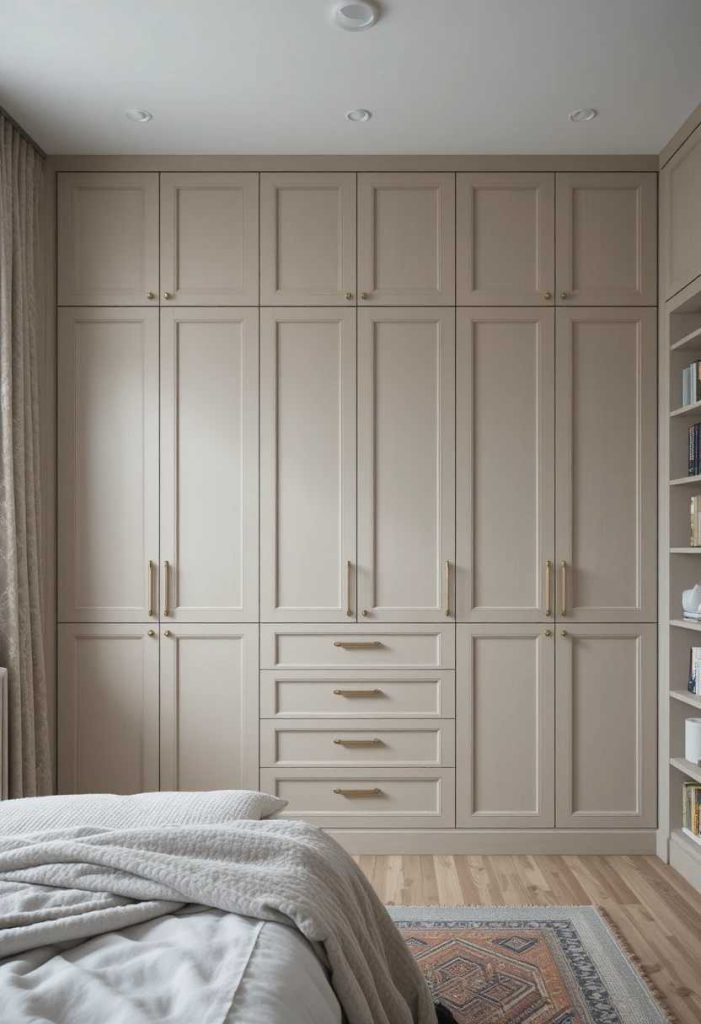
Painting units the wall colour makes them recede seamlessly. They blend beautifully. Mine feel part of the room. It is a lovely way to add polish.
How to do it:
Paint the units the same colour as the walls. Let them recede seamlessly. Keep the finish consistent. Add subtle handles. Let them blend into the room.
18. Add Glass Fronts
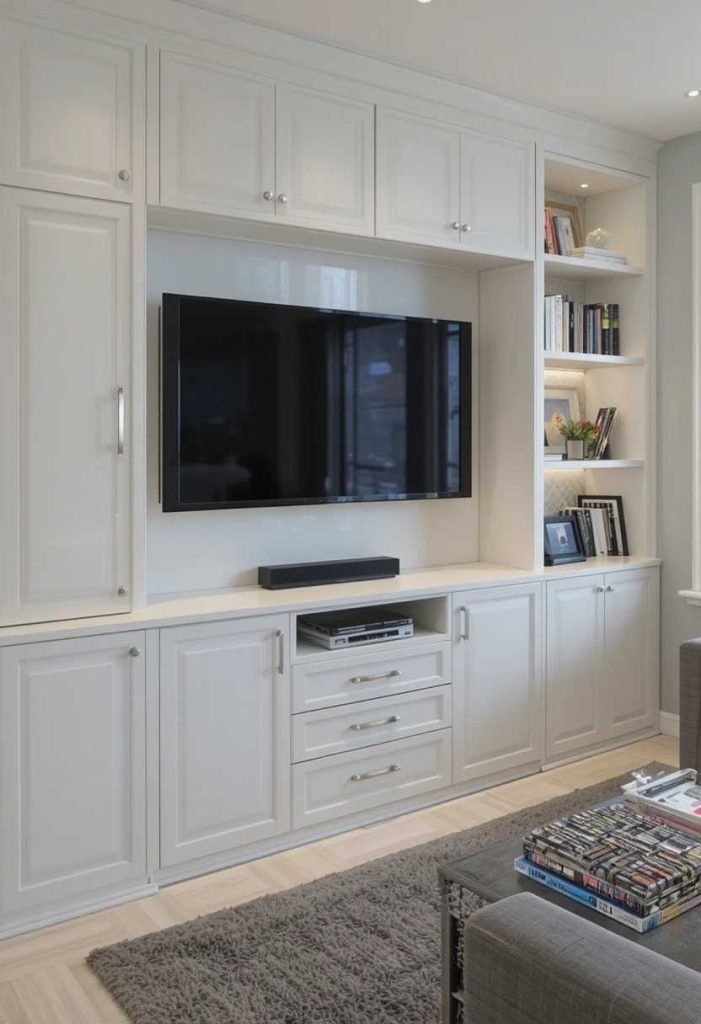
Glass door fronts add an elegant, custom display. They lighten the piece. Mine show off pretty pieces. It is a lovely way to add character.
How to do it:
Add glass fronts to some units. Display favourite pieces inside. Add lighting for glow. Keep the contents tidy. Let them add elegant display.
19. Add a Contrasting Interior
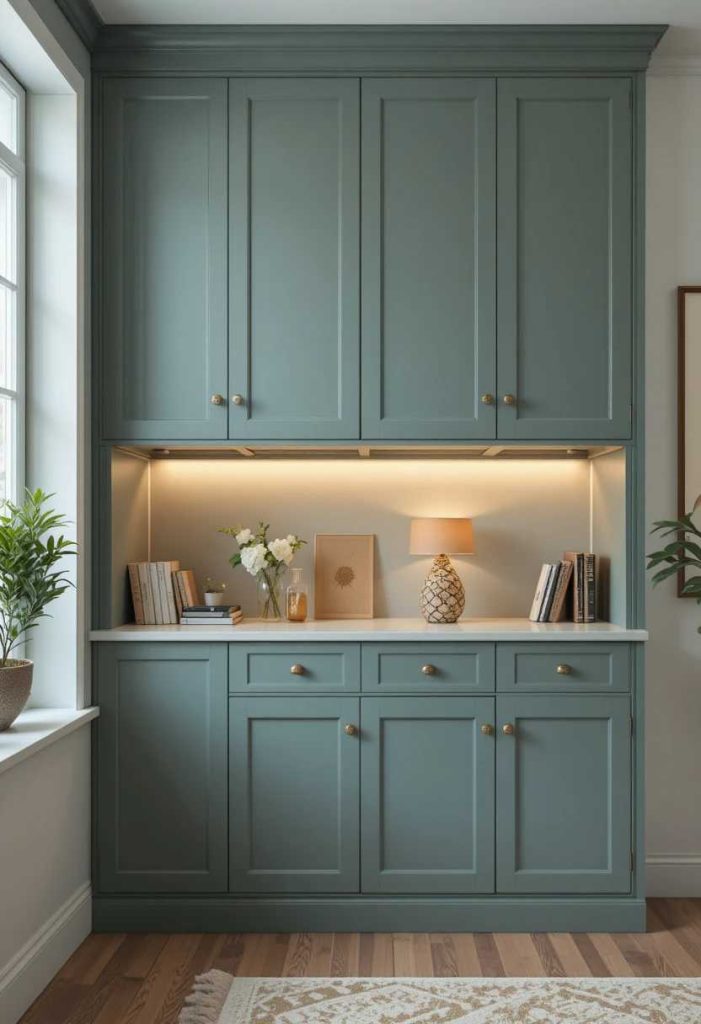
A painted or papered interior adds a custom surprise. It elevates the inside. Mine feel considered and luxe. It is a lovely way to add character.
How to do it:
Paint or paper the interior of open units. Choose a contrasting tone. Keep the outside cohesive. Add lighting. Let it add a custom surprise.
20. Plan the Layout Carefully
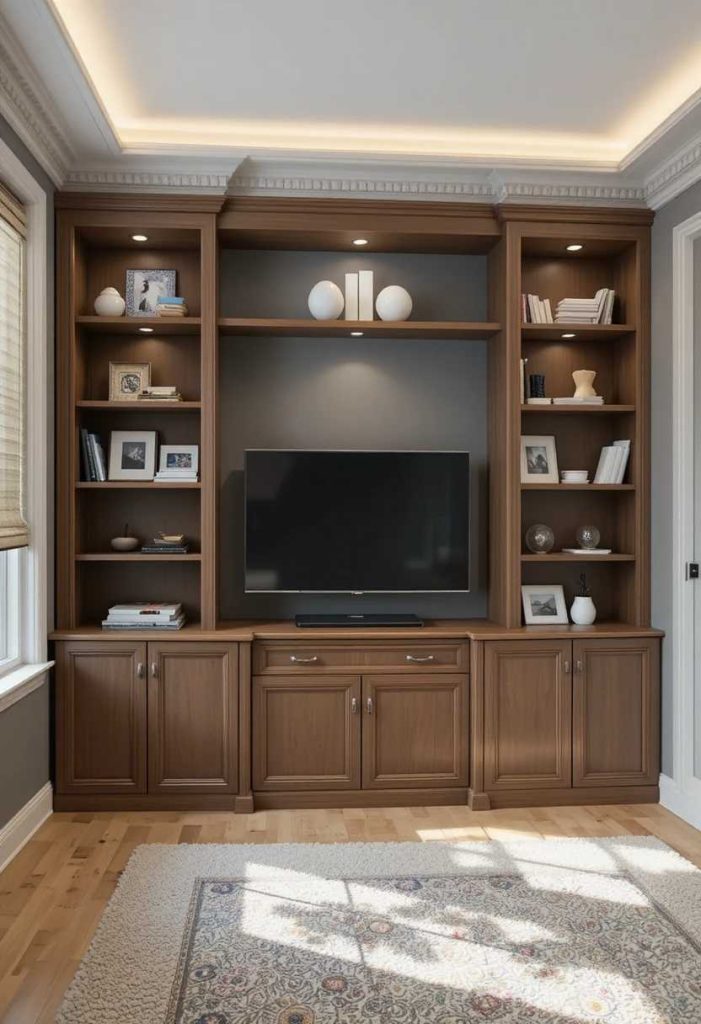
Careful measuring makes units fit seamlessly. Good planning is essential. Mine fit the space perfectly. It is a practical, essential step.
How to do it:
Measure the space carefully first. Plan the unit layout to fit. Account for trim and filler gaps. Sketch it out. Let good planning ensure a seamless fit.
21. Add a Statement Colour
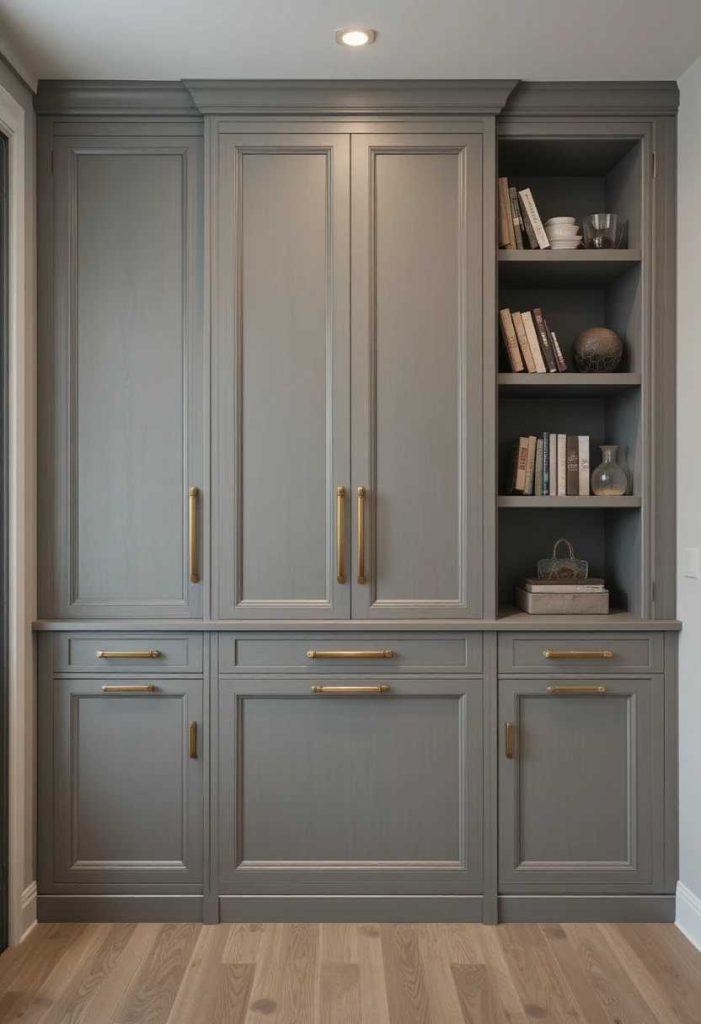
A bold painted unit becomes a custom feature. The colour adds drama. Mine anchor the room boldly. It is a striking way to add character.
How to do it:
Paint the built-in a bold, rich colour. Choose deep green, navy, or black. Keep the walls calmer. Add nice handles. Let it be a custom feature.
22. Fill Awkward Alcoves
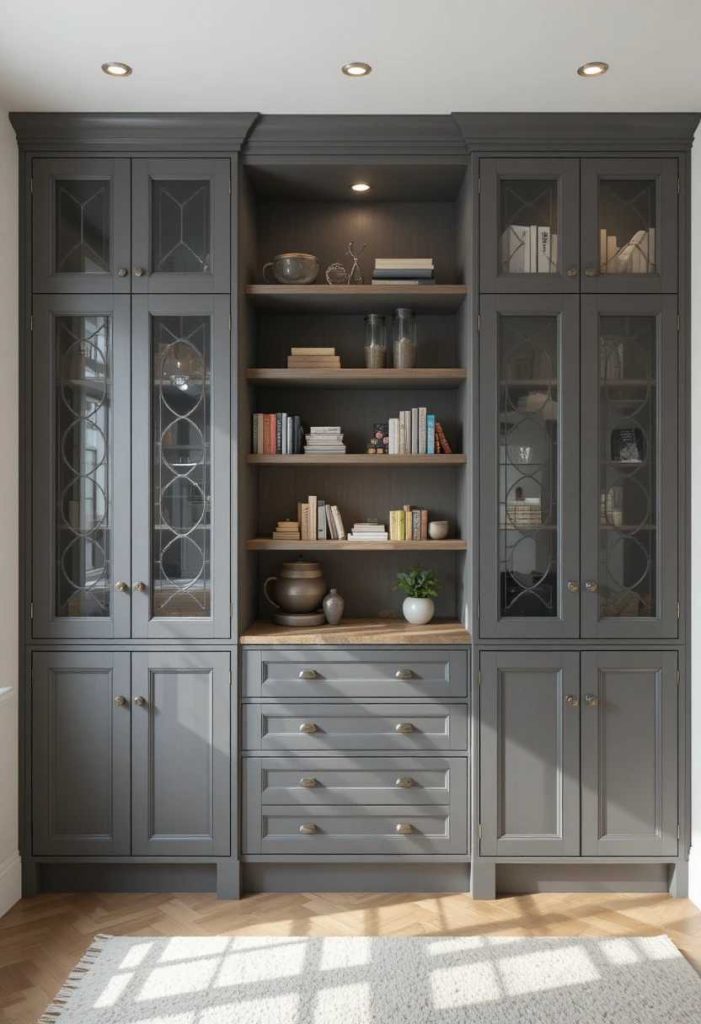
Units sized to alcoves use tricky space cleverly. They look purpose-built. Mine fill the recesses perfectly. It is a smart way to add function.
How to do it:
Fit units into awkward alcoves. Size them to the recess. Add trim to fill gaps. Extend to the ceiling. Let them look purpose-built.
23. Add Cohesive Styling
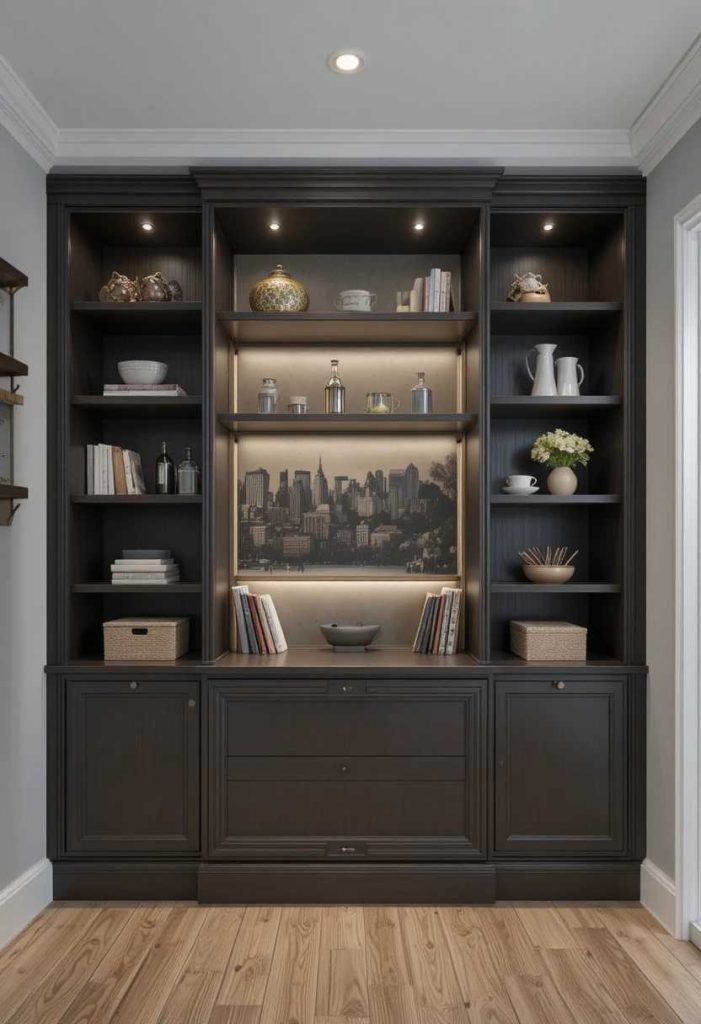
Styling the built-in ties it to the room. The finish feels considered. Mine look beautifully complete. It is a lovely way to add character.
How to do it:
Style the shelves with books, plants, and decor. Keep the palette cohesive. Balance the display. Leave breathing space. Let it look complete.
24. Match It to Your Home
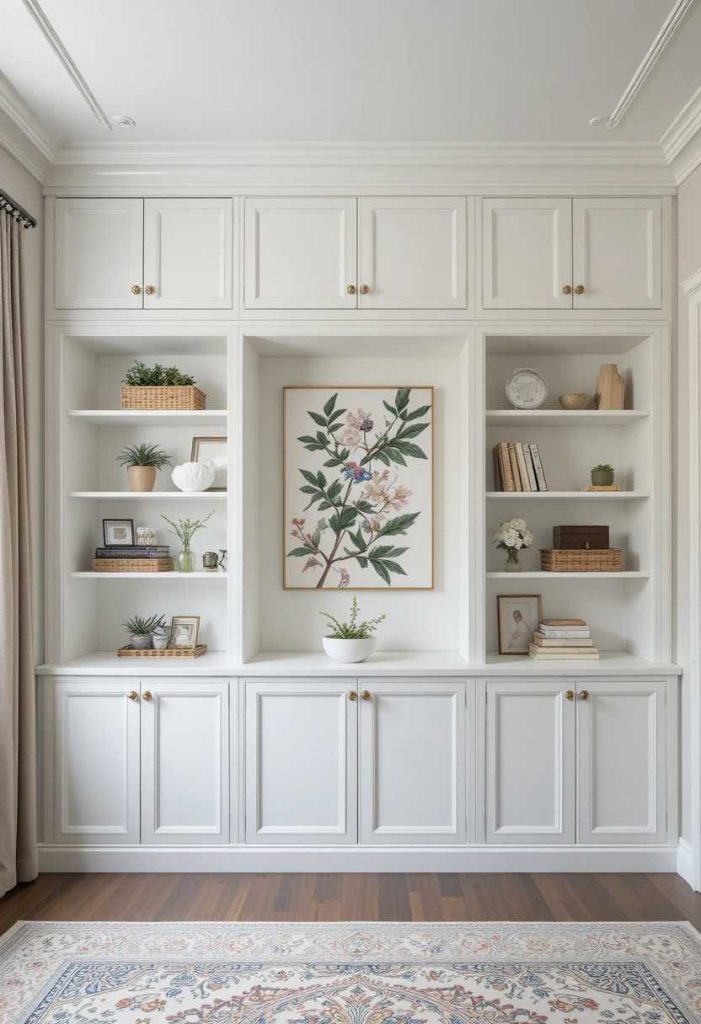
Styling the hack to suit your home ties it together. A cohesive look feels intentional. Mine flows with the house. It is a thoughtful way to style with care.
How to do it:
Match the built-in to your home’s style. Echo the trim and tones. Keep it cohesive. Let it flow with the room. Edit anything that clashes.
25. Make It Custom and High-End
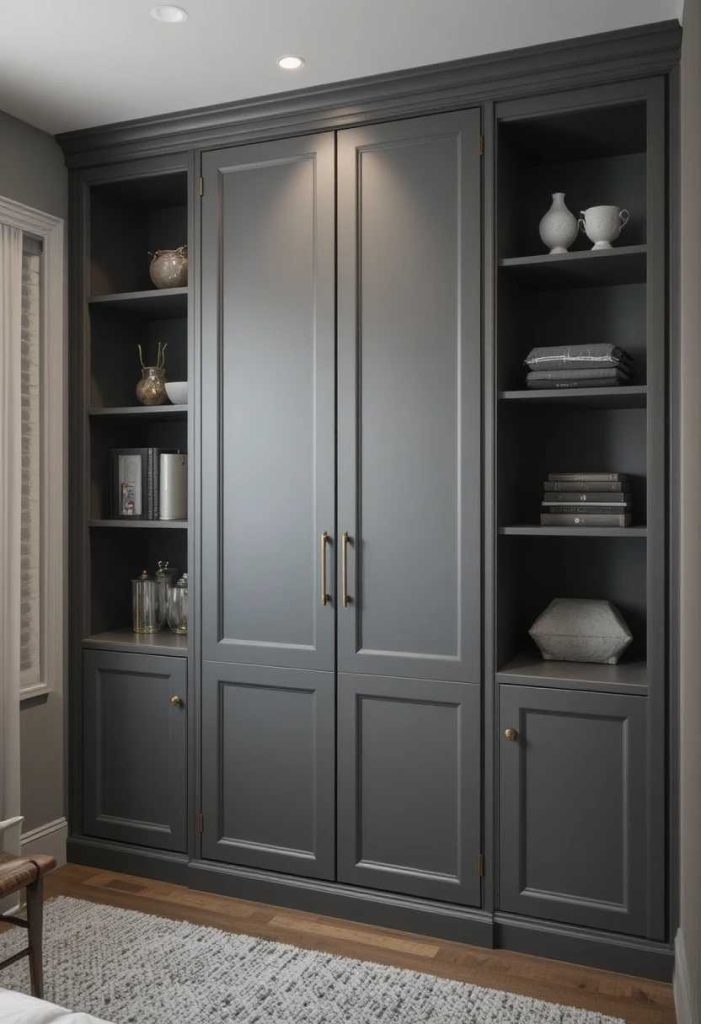
Finally, the best IKEA hack looks beautifully custom while suiting your home perfectly. Clever tweaks and finishing details make it shine. In my own home, an IKEA hack gave me bespoke-looking storage for a fraction of the cost. It is the loving finishing touch that turns affordable units into a high-end, custom feature you treasure.
How to do it:
Combine clever tweaks with finishing details. Close the gaps and upgrade the fronts. Paint and style it cohesively. Let it look bespoke. Above all, make it a custom, high-end feature.
A Final Gentle Thought
Whichever ideas inspire you most, an IKEA built-in hack is really about getting a high-end, custom look on a budget with clever tweaks. Close the gaps, upgrade the fronts, and add finishing details. In my own home, an IKEA hack gave me bespoke-looking storage for far less. May yours always look beautifully custom and work brilliantly for your space.
Frequently Asked Questions
What is an IKEA built-in hack?
An IKEA built-in hack is a project that uses affordable IKEA cabinets or shelving units, such as BESTA, PAX, or BILLY, and customizes them to look like expensive, seamless built-in cabinetry. Common tweaks include adding trim and filler panels, upgrading the fronts, extending to the ceiling, and adding moulding and paint for a bespoke, high-end finish.
Which IKEA units are best for built-in hacks?
Popular choices include BESTA units for media walls and low storage, PAX wardrobes for built-in closets, BILLY bookcases for shelving walls, and SEKTION or kitchen cabinets for various built-ins. These are affordable, come in useful sizes, and take customization well. Choose based on the depth, height, and function you need for your space.
How do I make IKEA units look built-in?
The key is closing the gaps that reveal freestanding furniture. Add trim, filler panels, and scribe pieces to fill gaps against walls and the ceiling, build a base or plinth, and extend units to the ceiling with a topper and moulding. Custom fronts, cohesive paint, and nice handles complete the seamless, custom look.
Do I need to be handy to do an IKEA hack?
Basic hacks like adding handles or a topper are beginner-friendly, while more involved built-ins require some DIY skill for trim, filler panels, and secure fixing. Many hacks are achievable with patience, basic tools, and online tutorials. For structural work, wiring, or anything you are unsure about, it is worth calling in a professional.
Are IKEA built-in hacks cheaper than custom cabinetry?
Yes, significantly. IKEA units cost a fraction of bespoke joinery, and even with added trim, custom fronts, paint, and handles, the total is usually far less than fully custom cabinetry. The result can look remarkably high-end, making IKEA hacks a popular way to get a luxurious, built-in look on a realistic budget.